26 Lowercase Letter Tracing Worksheets — Free Printable Small Letters a to z
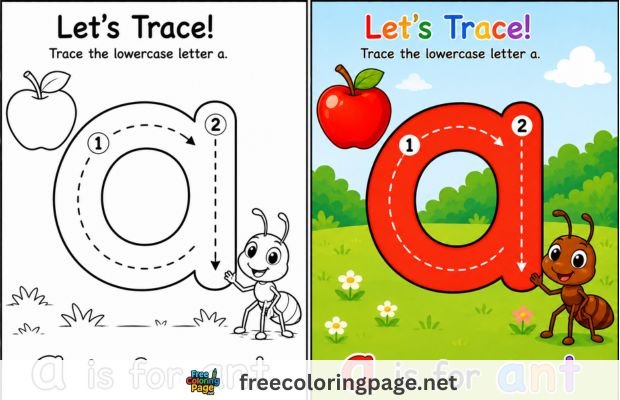
This collection of free printable lowercase letter tracing worksheets covers every small letter from a to z. Each sheet is available as a free PDF download — no sign-up, no account needed. These lowercase tracing worksheets are designed for preschoolers and kindergarteners aged 4–7 who have learned their capital letters and are now ready to master the small letter forms. Every sheet includes a large dotted lowercase letter with numbered stroke order arrows, guide lines, a matching picture, and practice lines for independent writing.
Every page is completely free to download and print. No account, no email, no cost. All pages are formatted for A4 and US Letter paper.
What’s on Each Lowercase Letter Tracing Worksheet
Every lowercase letter tracing sheet includes:
- One large lowercase letter — centered on the page in a bold dotted outline with generous sizing. The letter is positioned correctly on the guide lines so children learn from the start where small letters sit relative to the baseline and midline
- Stroke order arrows — numbered arrows showing the correct starting point and stroke direction for each letter. Correct stroke habits learned now prevent bad habits that are very difficult to undo later
- Four guide lines — baseline, midline, ascender line, and descender line. Lowercase letters are the first time children encounter letters that go above the midline (like h, l, k) and below the baseline (like g, p, y) — the guide lines make this structure visible and clear
- Practice lines — three to four ruled lines below the tracing model for independent writing practice
- Name and date boxes — for classroom use and to give children ownership of their worksheet
Lowercase Letter Tracing Worksheets
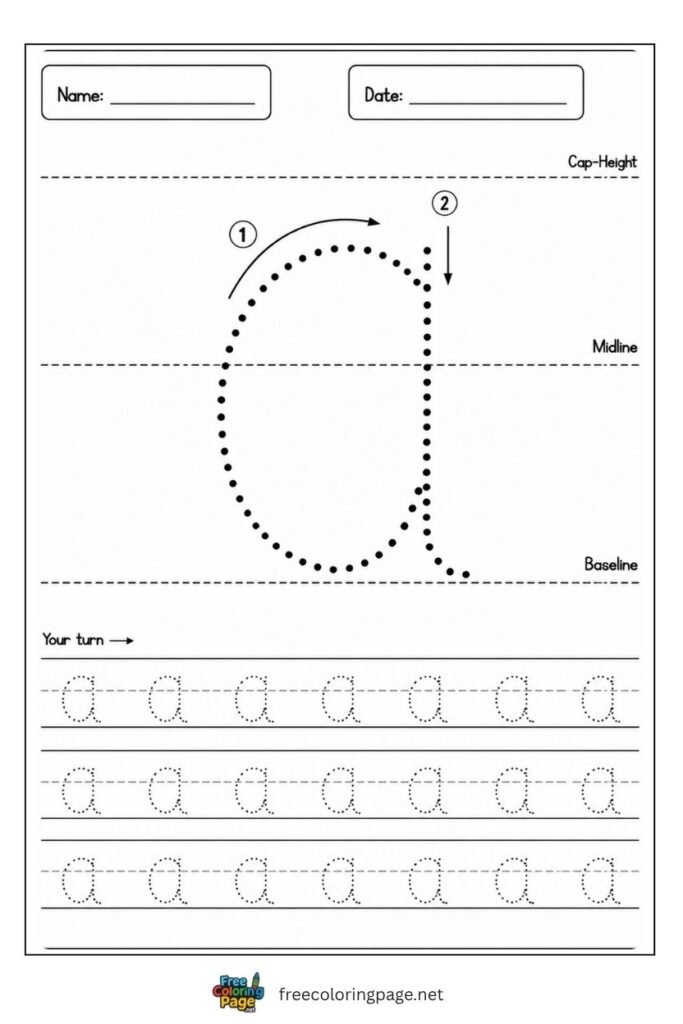
Letter a lowercase tracing worksheet for preschool and kindergarten
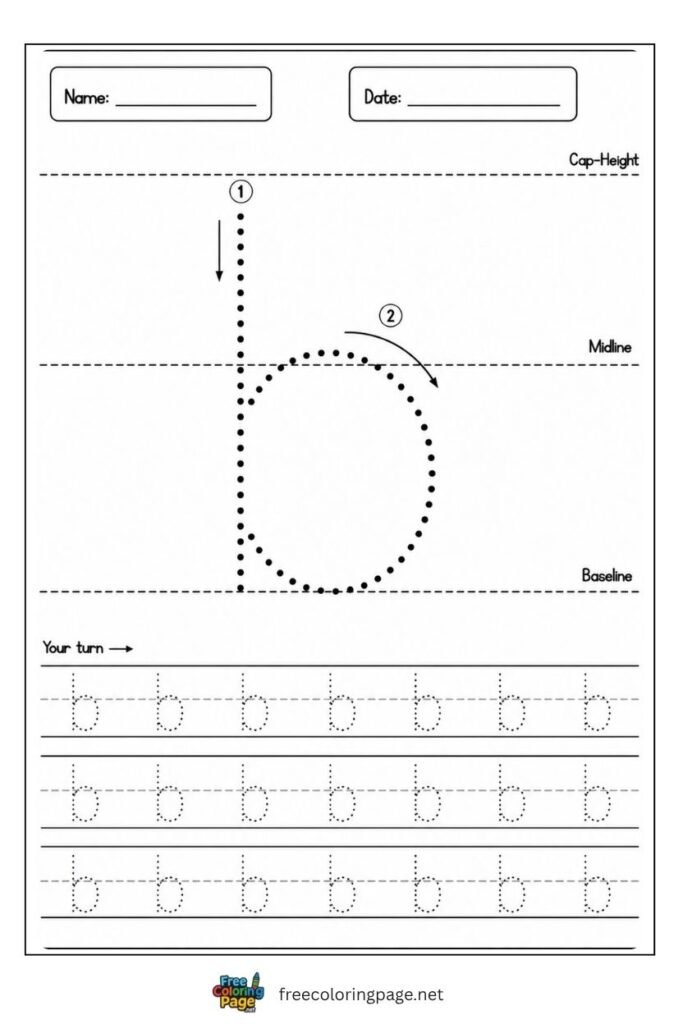
Letter b lowercase tracing worksheet for preschool and kindergarten
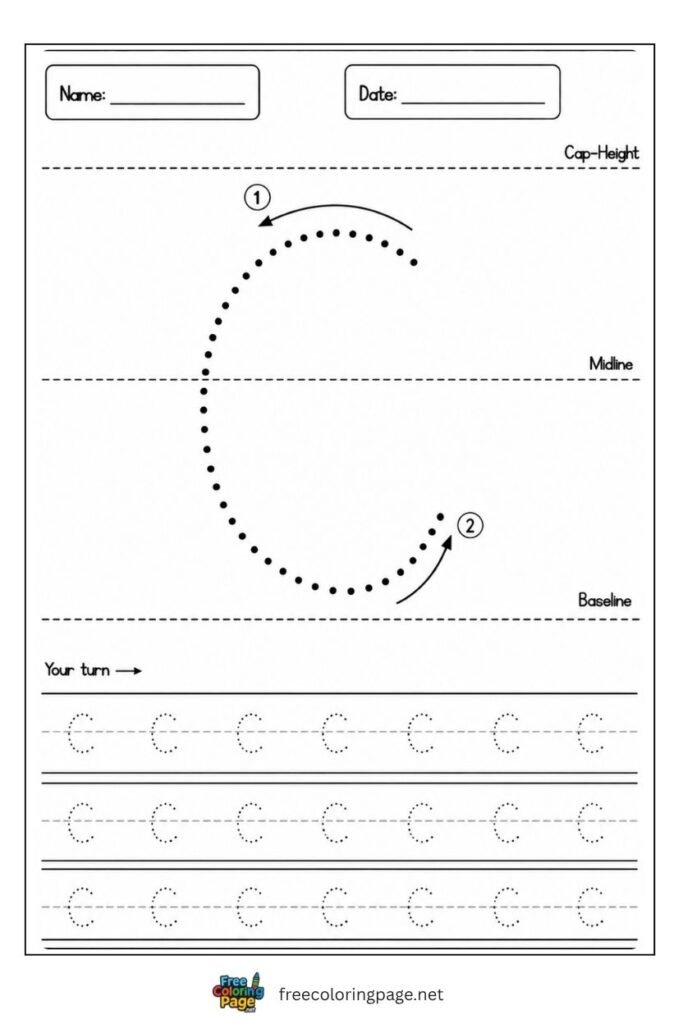
Letter c lowercase tracing worksheet for preschool and kindergarten
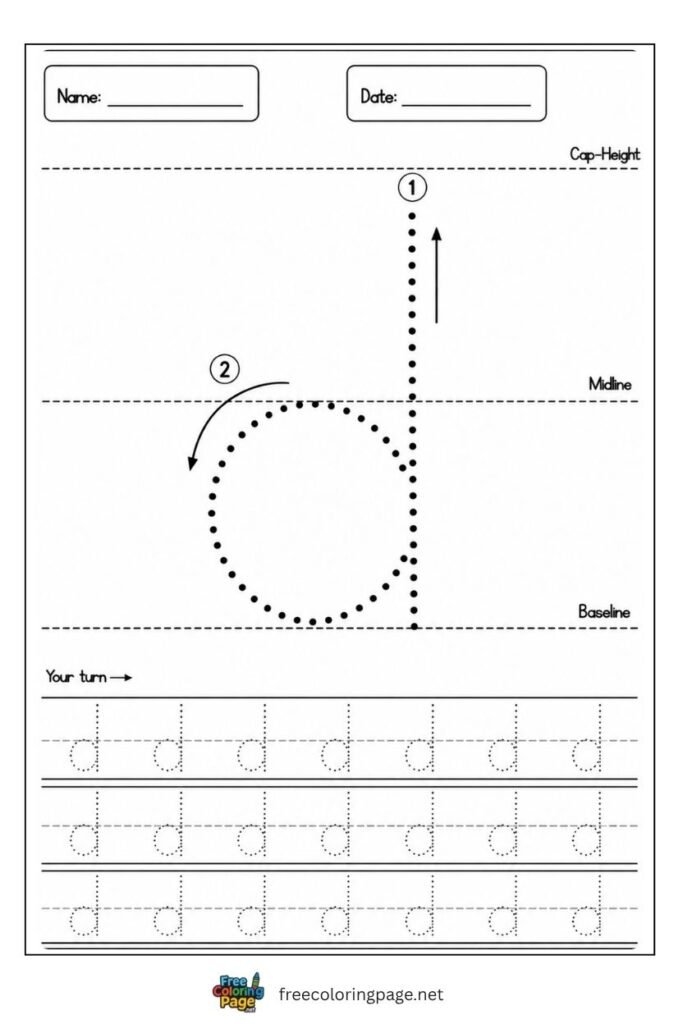
Letter d lowercase tracing worksheet for preschool and kindergarten
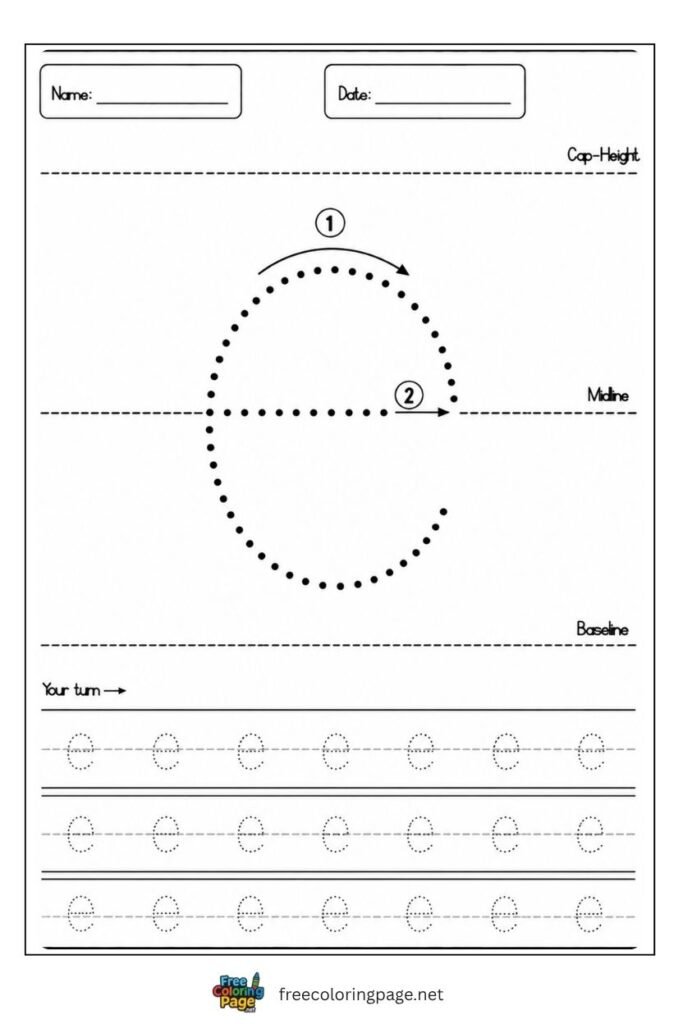
Letter e lowercase tracing worksheet for preschool and kindergarten
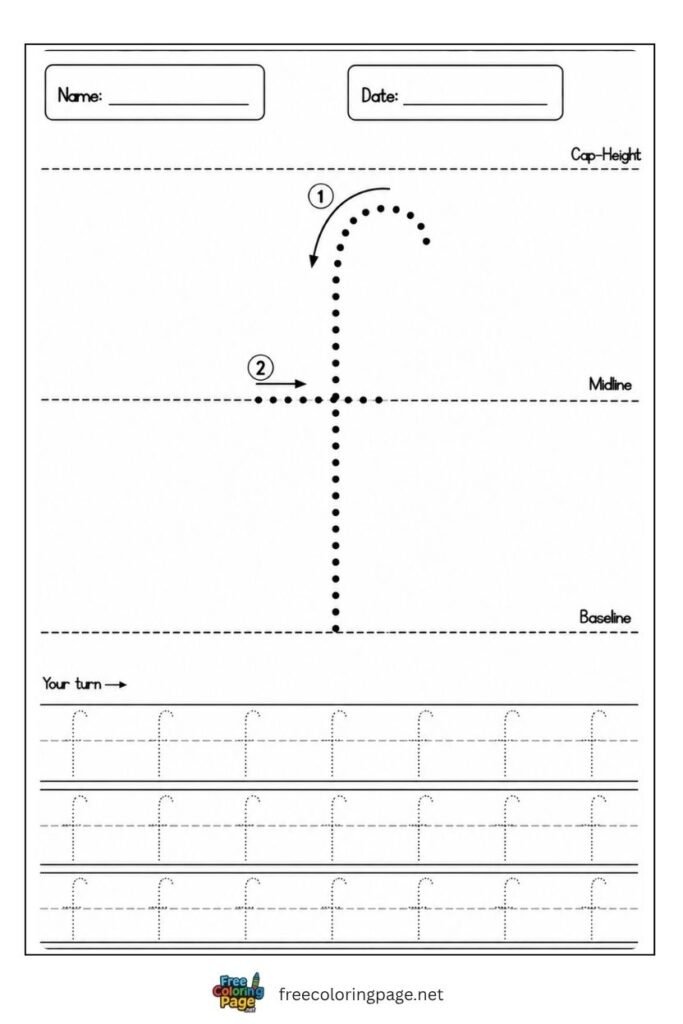
Letter f lowercase tracing worksheet for preschool and kindergarten
Discover other popular categories
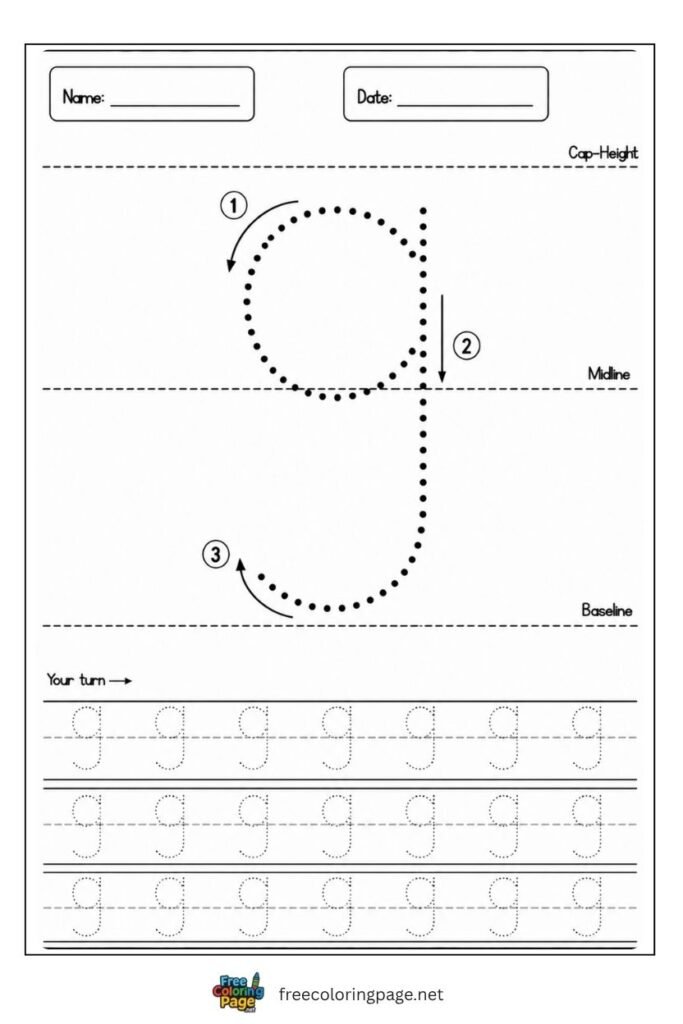
Letter g lowercase tracing worksheet for preschool and kindergarten
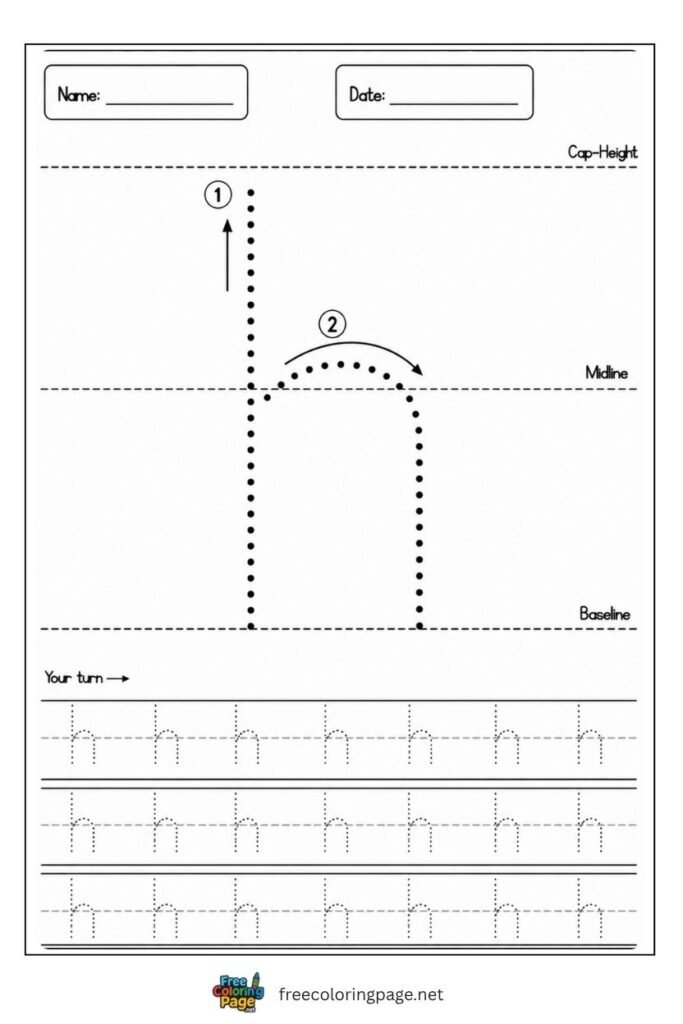
Letter h lowercase tracing worksheet for preschool and kindergarten
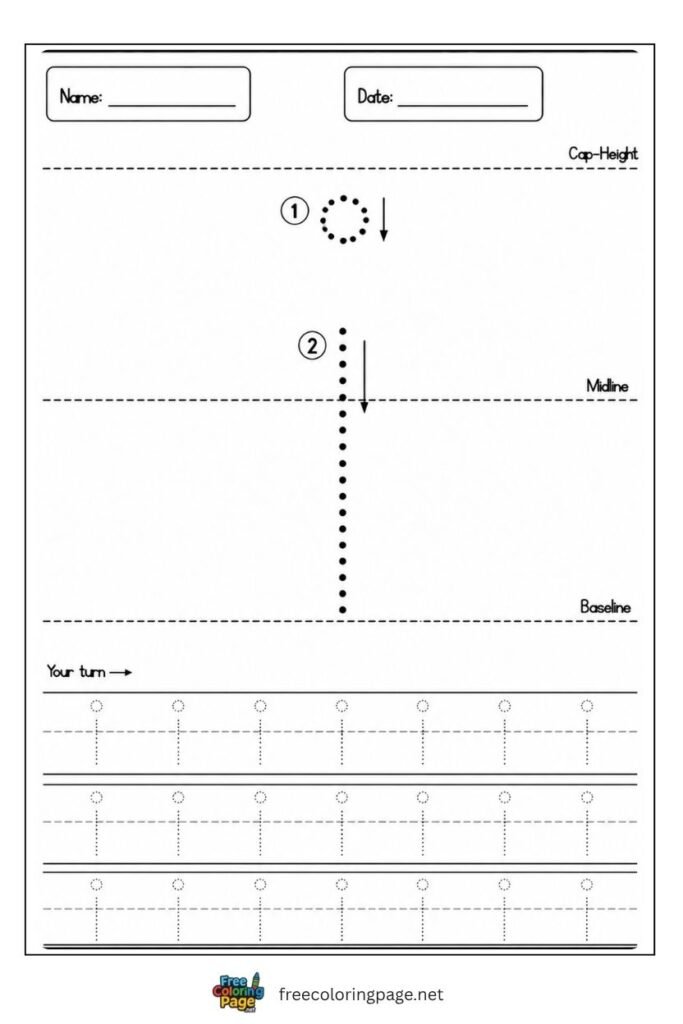
Letter i lowercase tracing worksheet for preschool and kindergarten
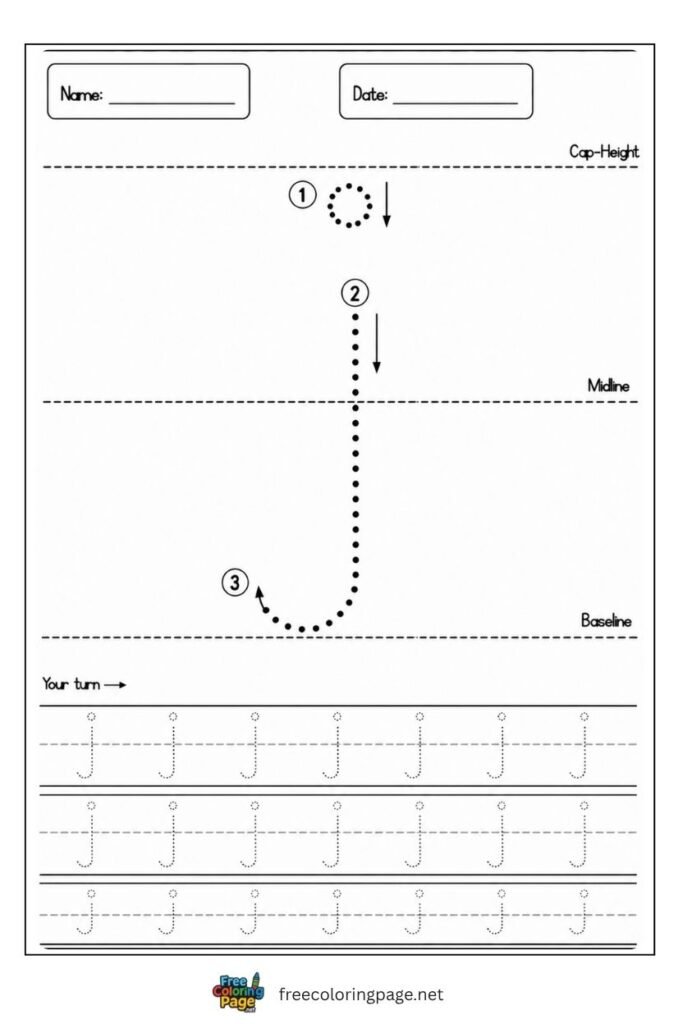
Letter j lowercase tracing worksheet for preschool and kindergarten
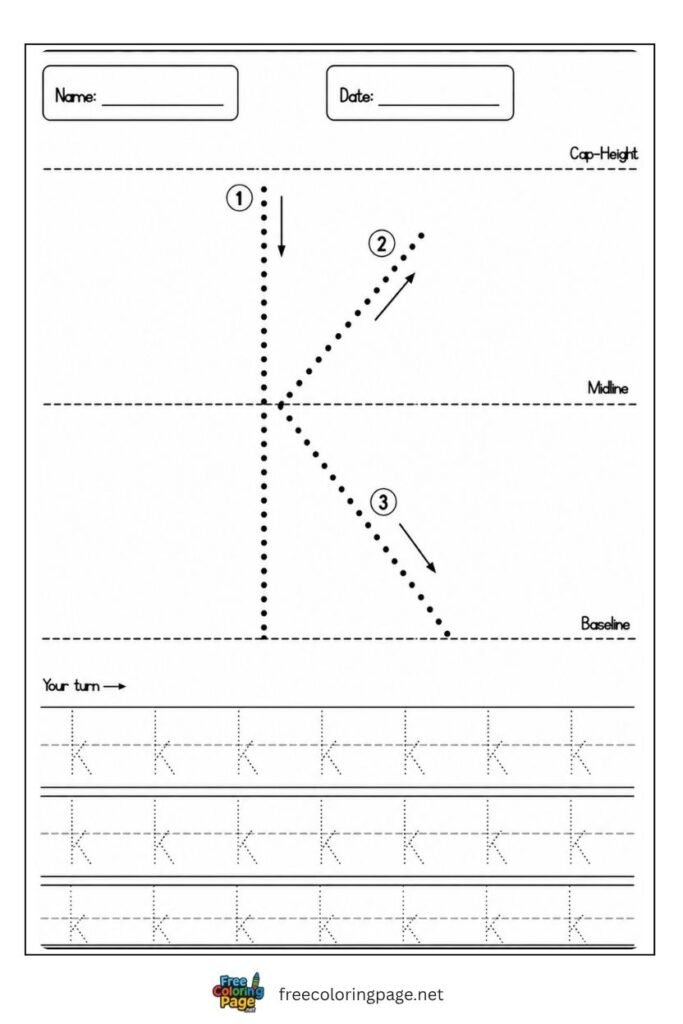
Letter k lowercase tracing worksheet for preschool and kindergarten
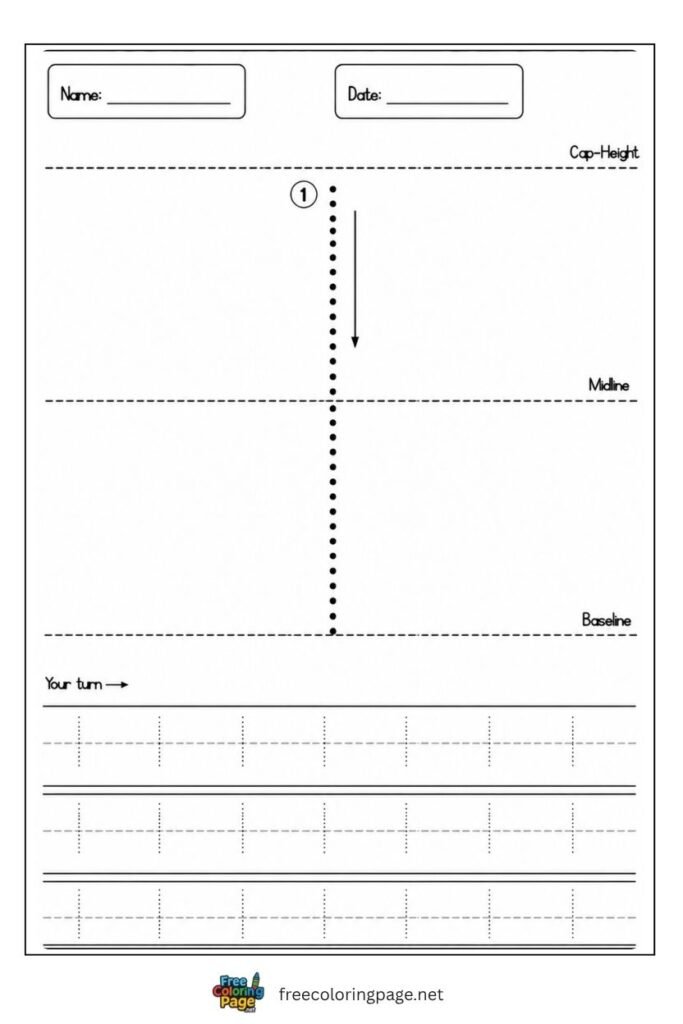
Letter l lowercase tracing worksheet for preschool and kindergarten
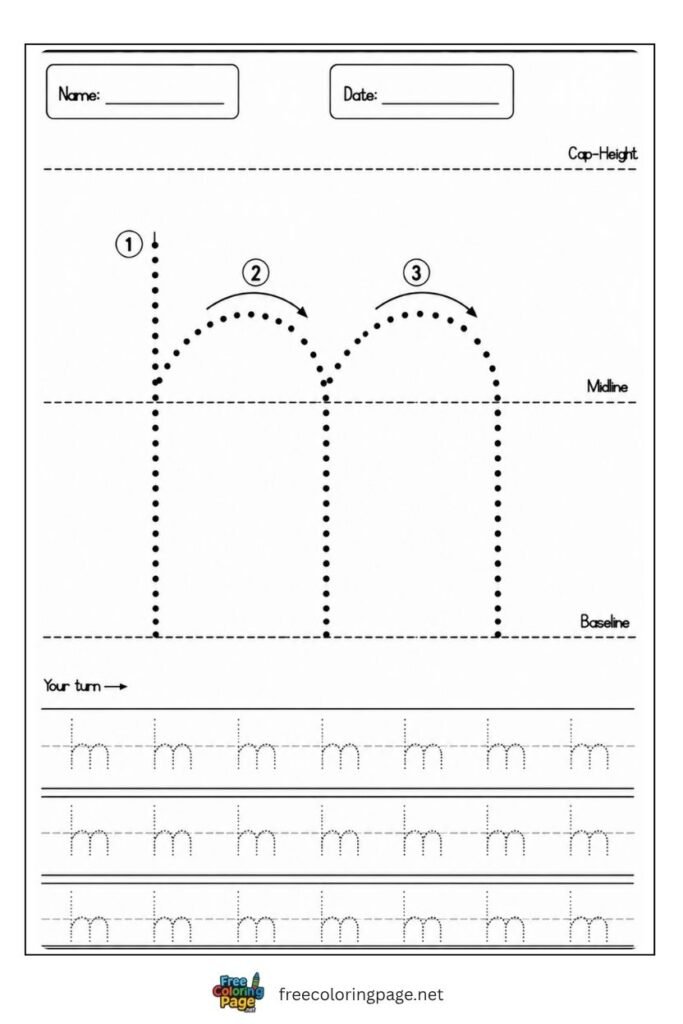
Letter m lowercase tracing worksheet for preschool and kindergarten
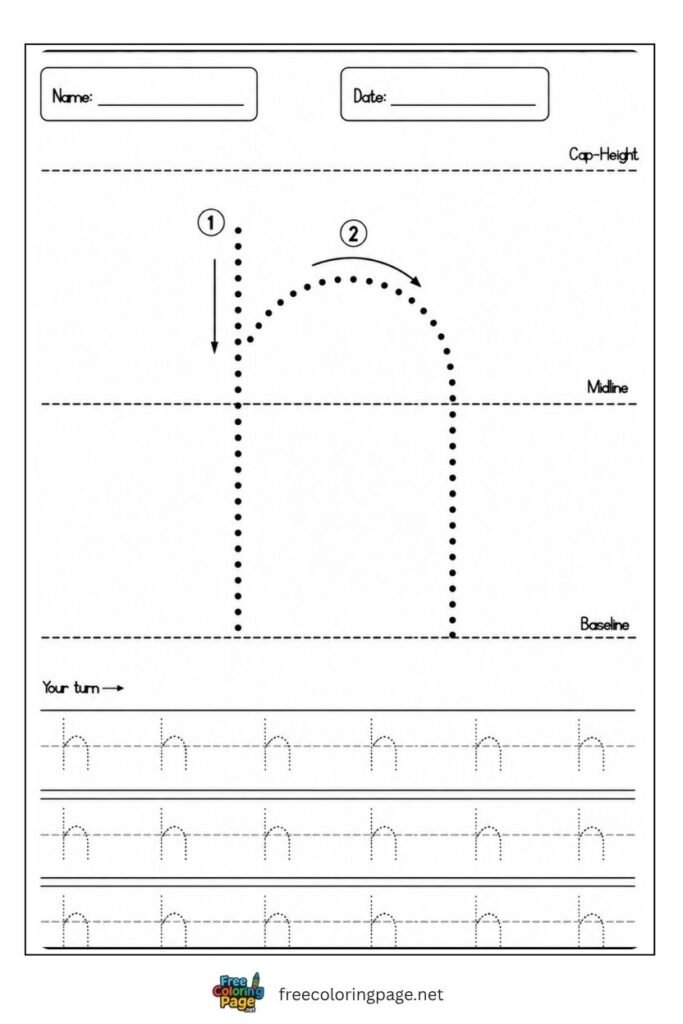
Letter n lowercase tracing worksheet for preschool and kindergarten
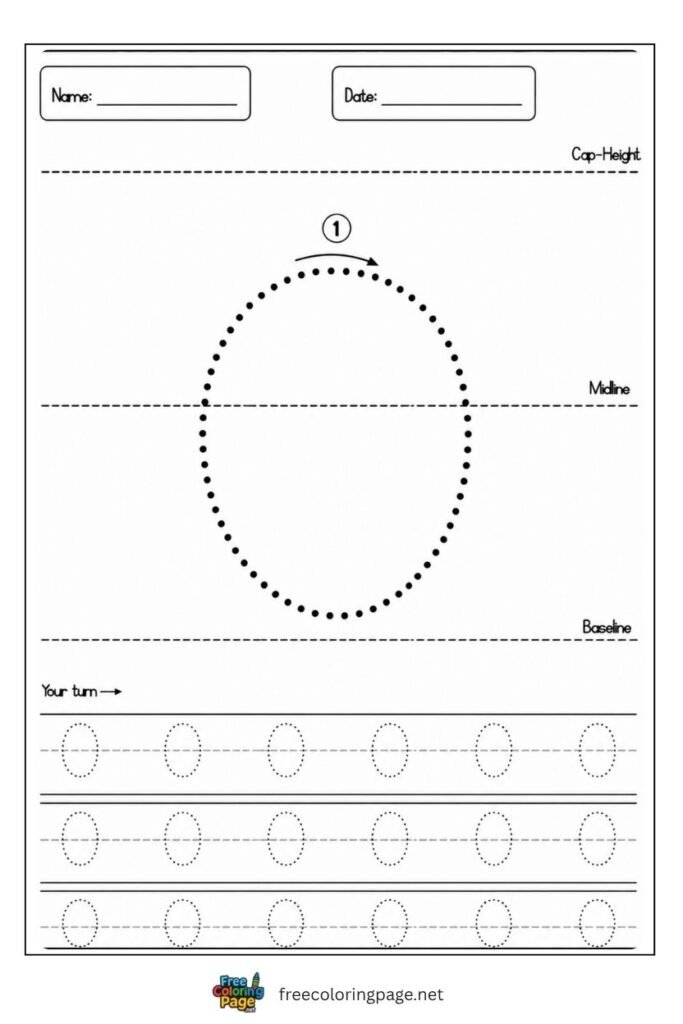
Letter o lowercase tracing worksheet for preschool and kindergarten
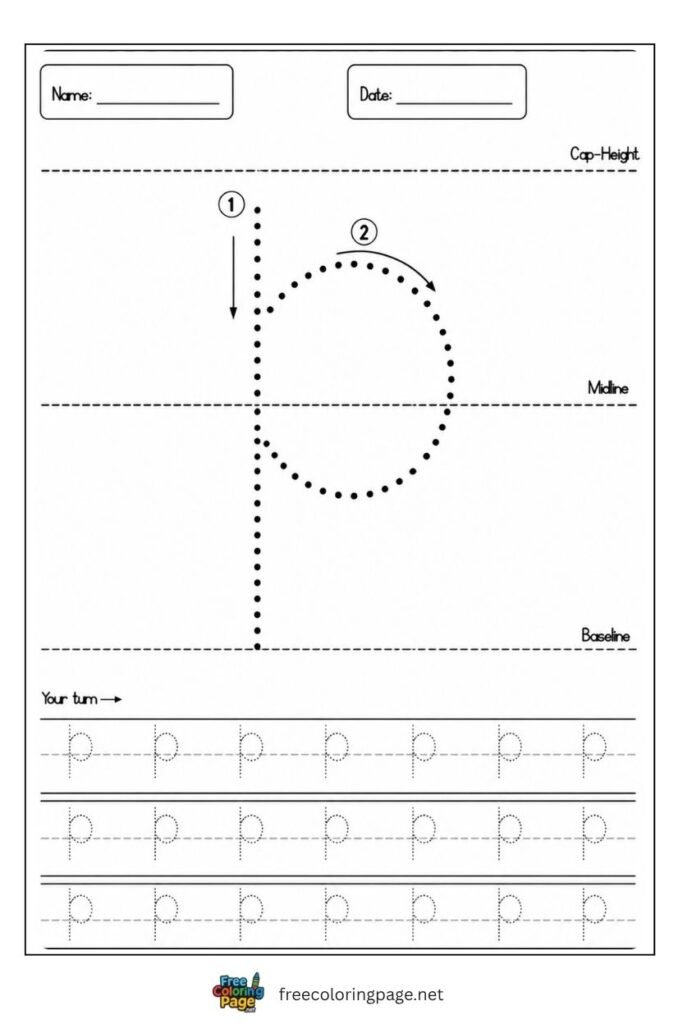
Letter p lowercase tracing worksheet for preschool and kindergarten
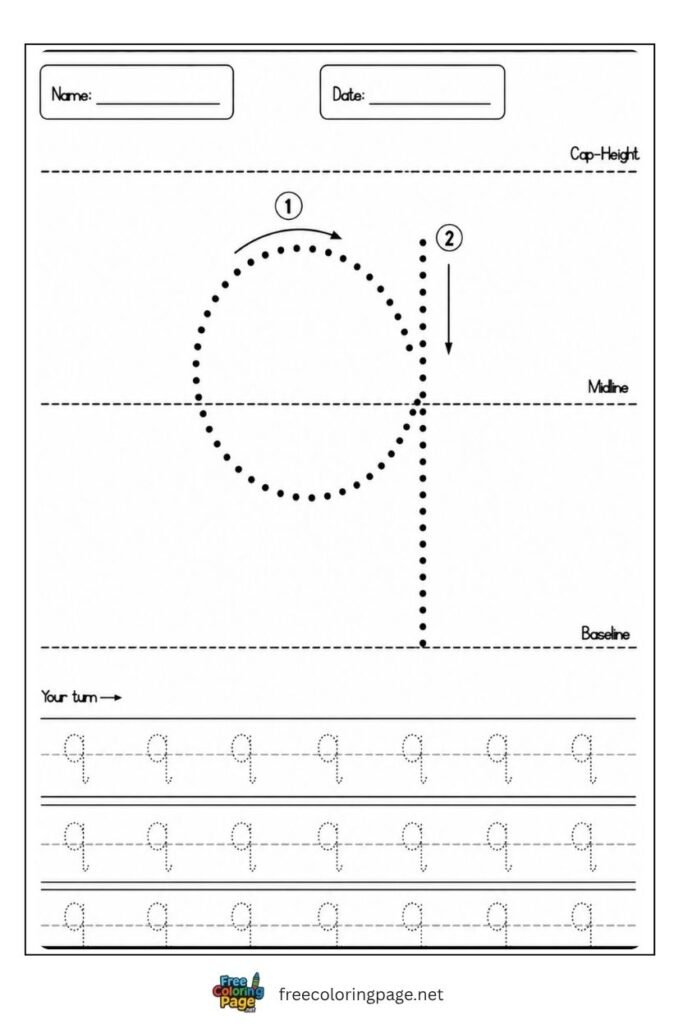
Letter q lowercase tracing worksheet for preschool and kindergarten
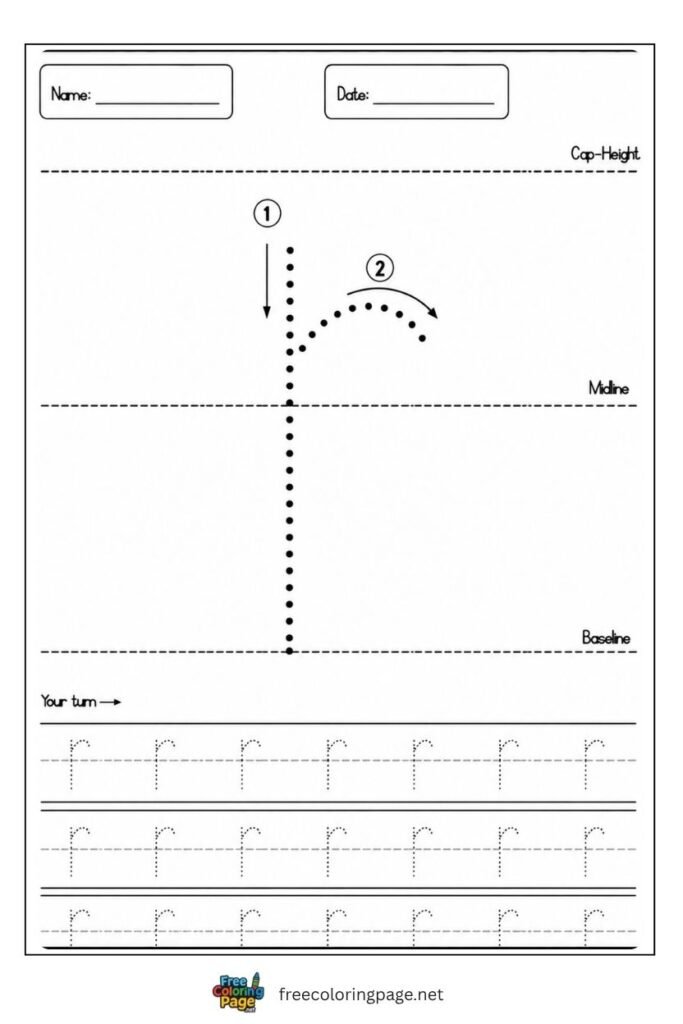
Letter r lowercase tracing worksheet for preschool and kindergarten
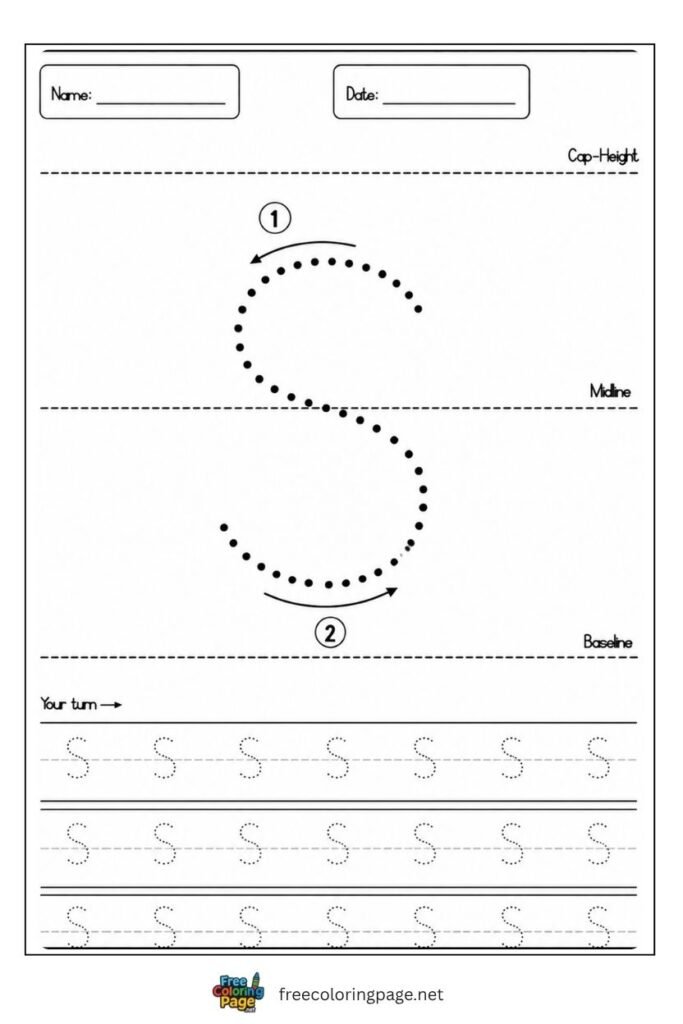
Letter s lowercase tracing worksheet for preschool and kindergarten
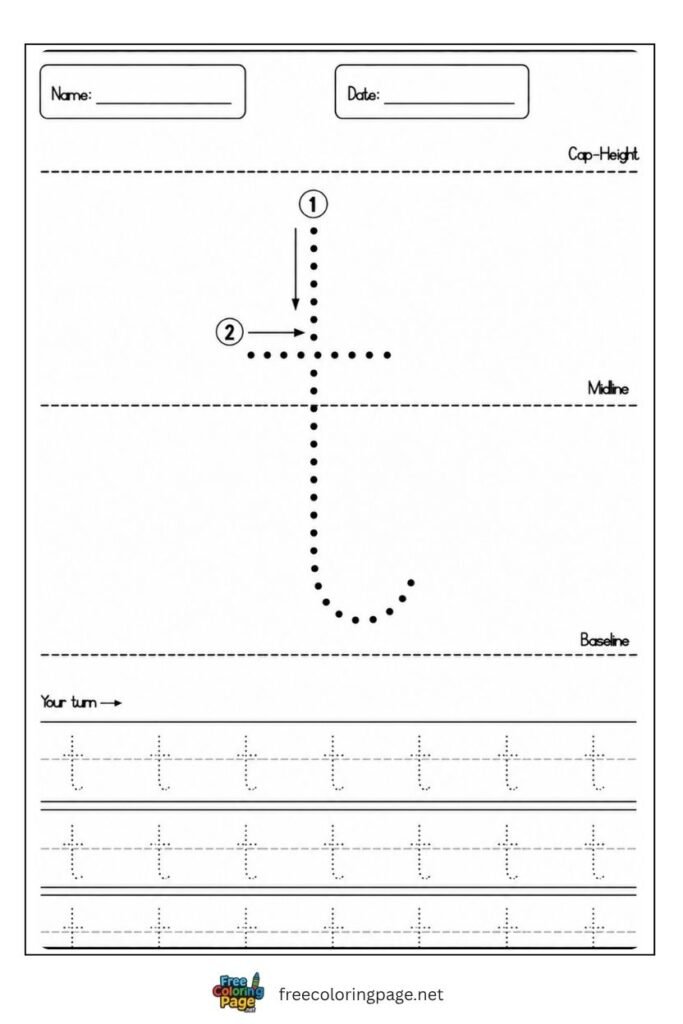
Letter t lowercase tracing worksheet for preschool and kindergarten
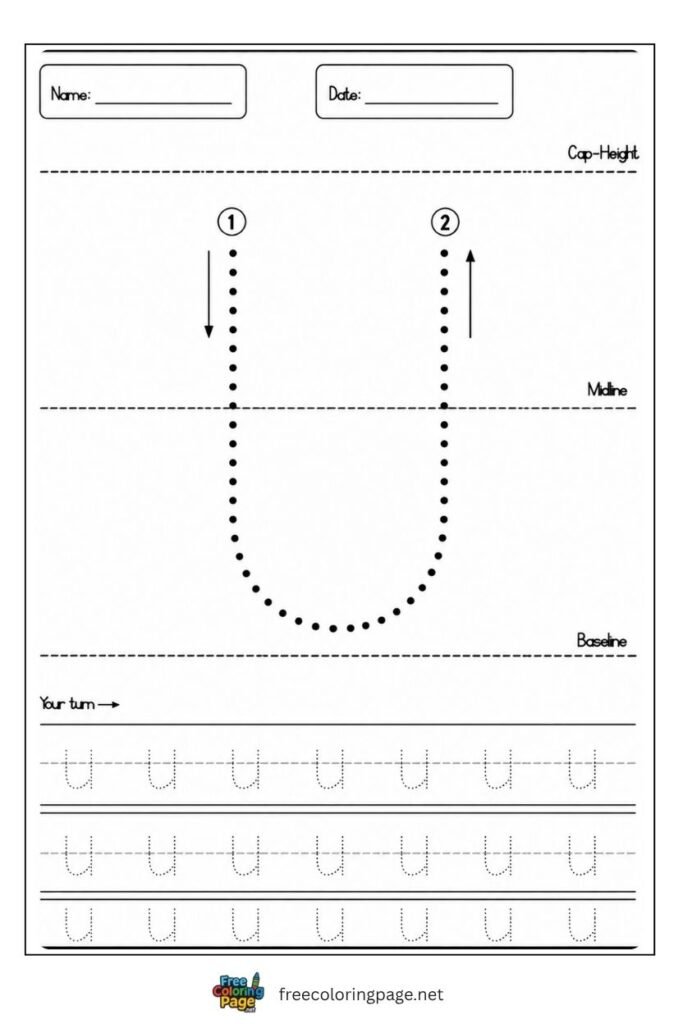
Letter u lowercase tracing worksheet for preschool and kindergarten
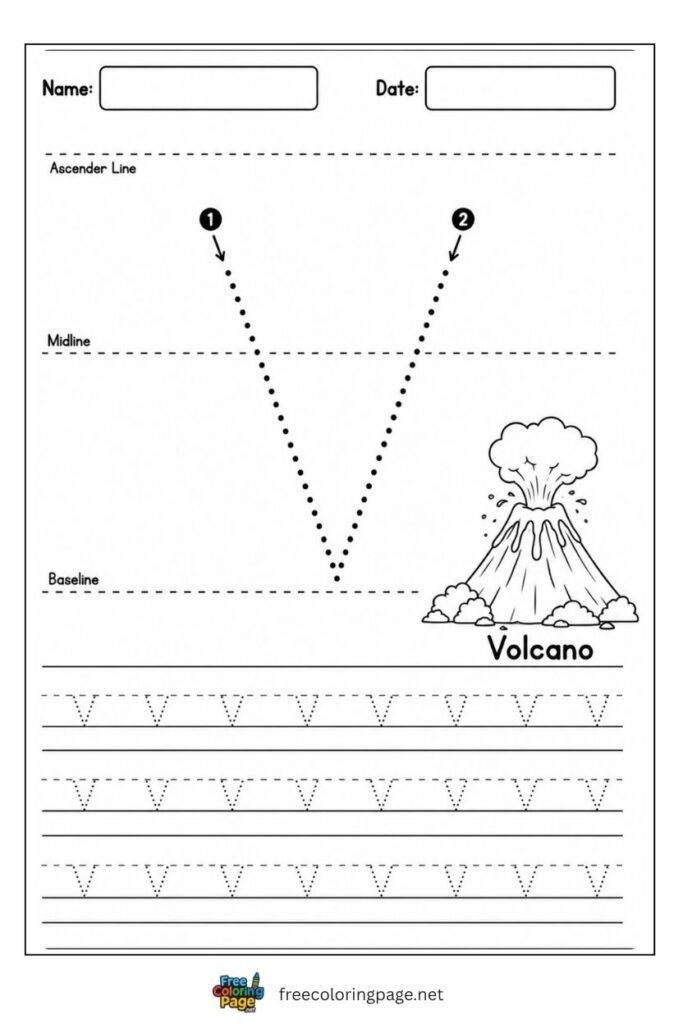
Letter v lowercase tracing worksheet for preschool and kindergarten
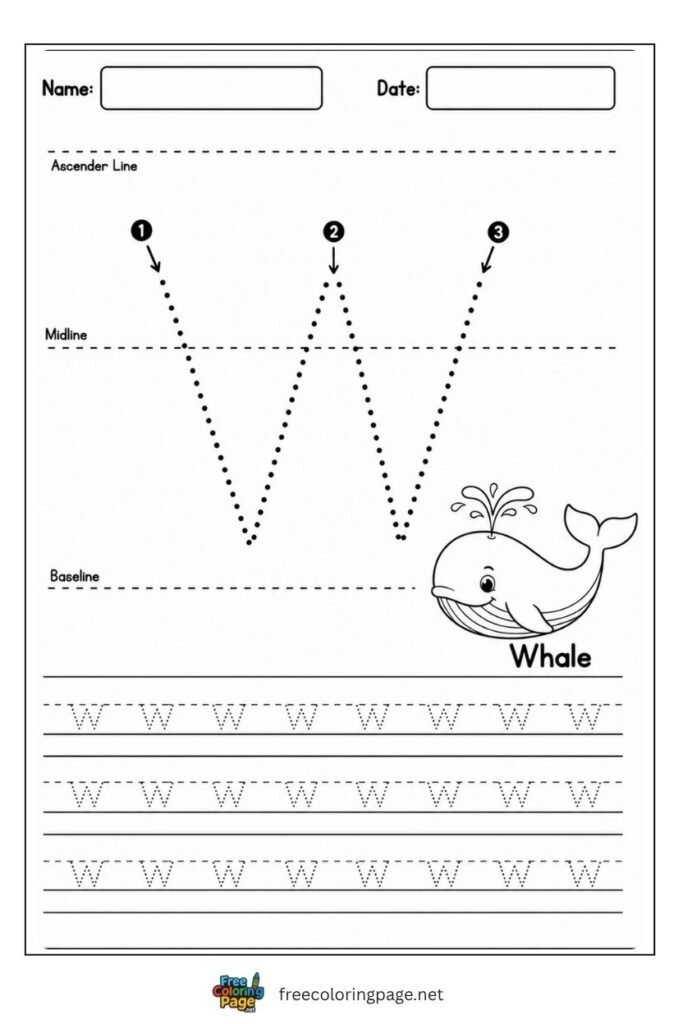
Letter w lowercase tracing worksheet for preschool and kindergarten
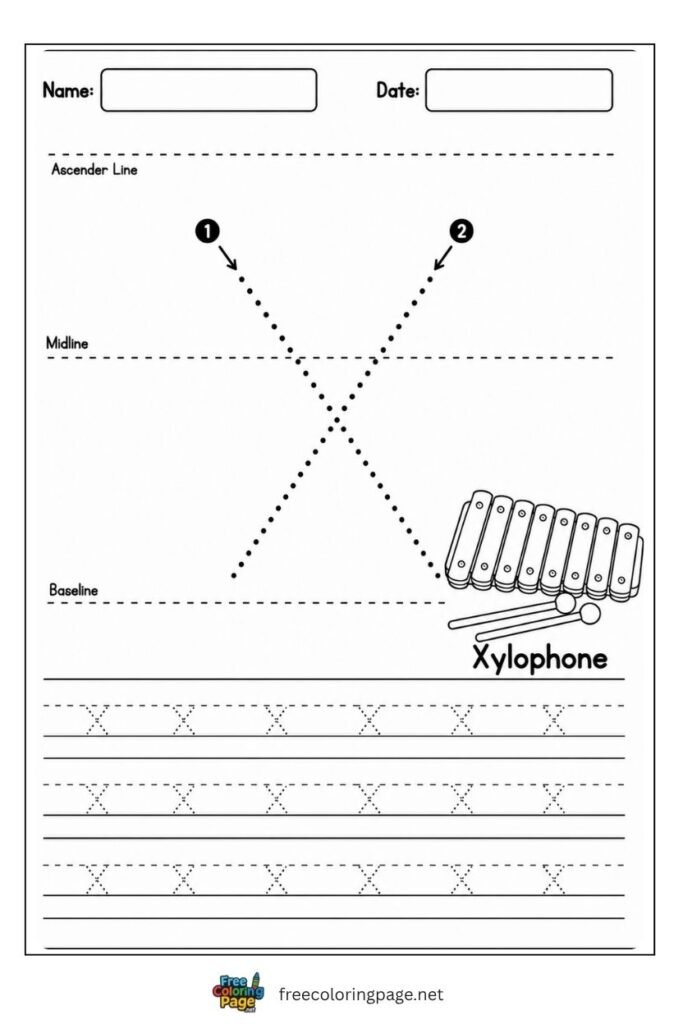
Letter x lowercase tracing worksheet for preschool and kindergarten
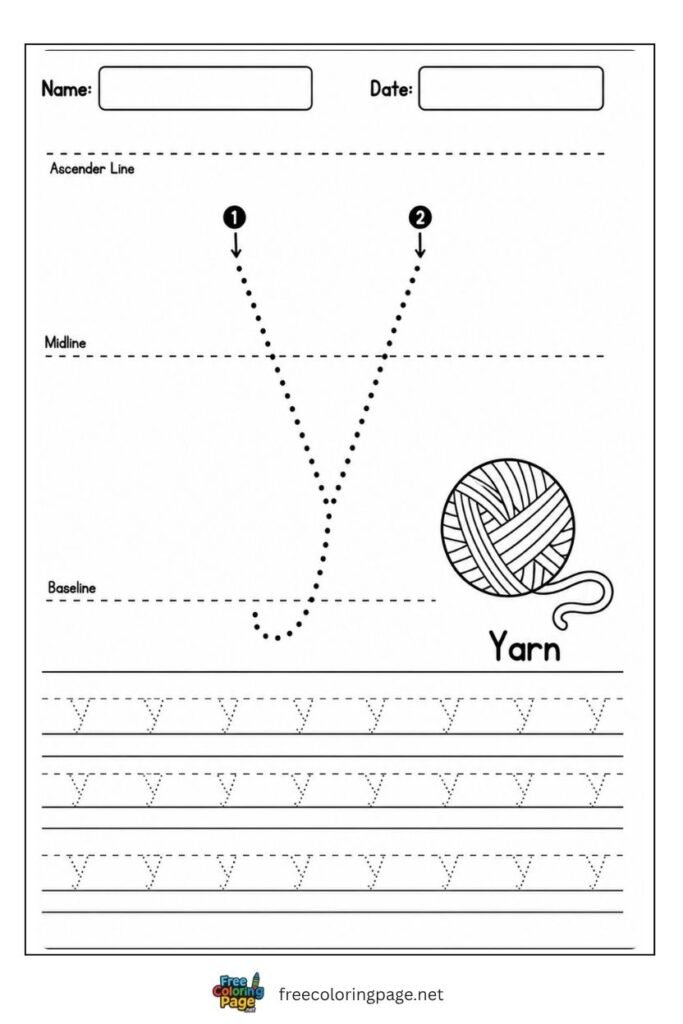
Letter y lowercase tracing worksheet for preschool and kindergarten
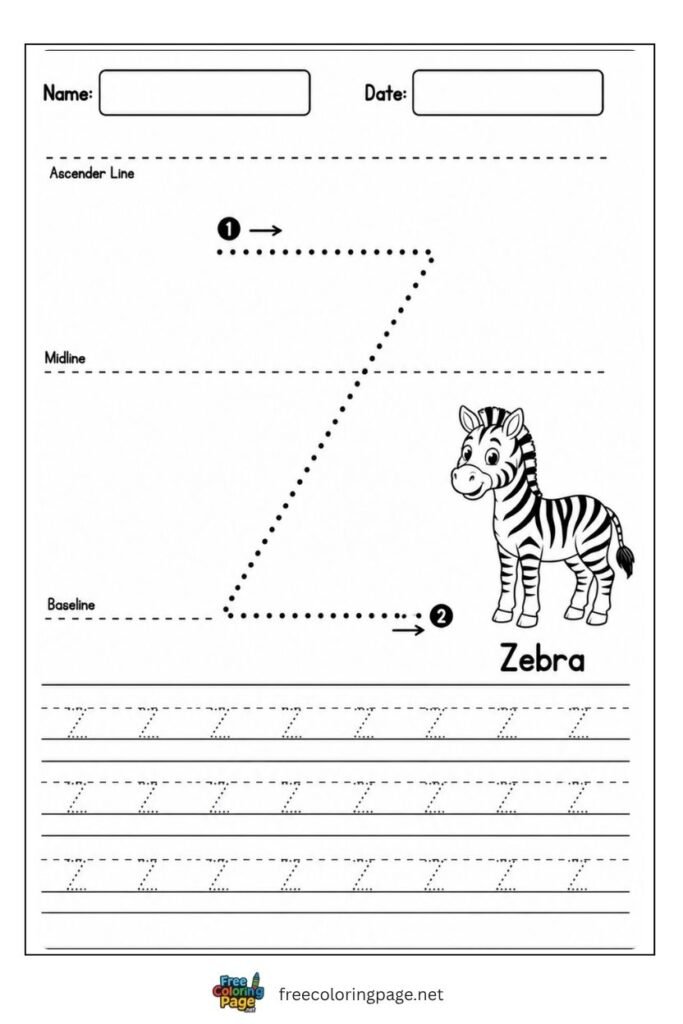
Letter z lowercase tracing worksheet for preschool and kindergarten
Why Lowercase Letters Come After Uppercase
Most handwriting programmes introduce uppercase letters first and lowercase letters second. Once children have a solid foundation in capital letter formation — which uses simpler strokes — they are ready for the additional complexity of the small letter alphabet.
What Makes Lowercase Letters Harder
Lowercase letters introduce three challenges that uppercase letters do not have:
- Letters that look almost identical The pairs b/d, p/q, m/w, n/u are mirror images or near-rotations of each other. Children frequently confuse these in both reading and writing. Unlike uppercase B and D which are clearly different, lowercase b and d are identical except for which side the bump is on. Regular tracing practice that establishes correct starting points dramatically reduces these confusions.
- Letters that cross the baselin Six lowercase letters have descenders — parts that drop below the baseline: g, j, p, q, y, and sometimes f. This is a completely new concept children have not encountered with uppercase letters, all of which sit above the baseline. The guide lines on each sheet make the descender line visible so children understand where these letters extend to.
- Size relationships between letters Lowercase letters come in three height groups — short letters (a, c, e, m, n, o, r, s, u, v, w, x, z), tall letters (b, d, f, h, i, j, k, l, t), and descender letters (g, p, q, y). Understanding that these groups of letters reach different heights on the page is a key concept in neat handwriting. The guide lines on every sheet teach this visually rather than through instruction.
The Most Common Lowercase Letter Confusions
b and d — the single most confused letter pair in early writing. A helpful reminder: b comes before d in the alphabet — its bump faces forward (to the right), in the direction the alphabet is going. D comes later — its bump also faces forward. The difference is that b has the stick on the left and the bump on the right; d has the bump on the left and the stick on the right. Another way: make two fists with thumbs up — your left hand makes a b shape, your right hand makes a d shape.
p and q — the second most confused pair. p has its tail going down-left; q has its tail going down-right. Remind children: p points to the left like a penguin waddling left; q points to the right.
m and n — m has two humps, n has one. A simple counting check — “how many humps does your letter have?” immediately catches this confusion.
h and n — children sometimes write n when they mean h, because h has an ascender (a tall stick) that n does not. The rule: h starts at the top, n starts at the middle.
How to Use These Lowercase Tracing Worksheets
At Home
The same three-step approach that works for uppercase letters works here — with one important addition:
Step 1 — Connect to the capital. Before tracing, show your child the matching uppercase sheet for the same letter. “This is capital A — big A. This is small a — little a. They are the same letter, just two different ways of writing it.” This connection between forms is one of the most important early literacy concepts and reduces confusion when children encounter both forms in reading.
Step 2 — Finger trace first. Ask your child to trace the dotted letter with their finger, starting at the numbered arrow. For letters with descenders (g, j, p, q, y) specifically say “this part goes under the line” while they finger trace — children find this concept counterintuitive the first time.
Step 3 — Pencil tracing then independent practice. Trace the dotted letter following the arrows, then try the practice lines independently. For lowercase letters specifically, a common mistake is children making their letters too tall — encourage them to check that short letters like a, e, o stay between the baseline and midline, not reaching all the way to the top.
Which letters to teach first: Rather than a to z in order, many teachers start lowercase with the letters in the child’s own name — motivation is highest for personally meaningful letters. After that, teach by difficulty group: easy single-stroke letters first (l, i, o, c), then two-stroke letters, then the complex confusable pairs (b/d, p/q) last.
In the Classroom
Pair with the uppercase sheet: When introducing a new letter, give children both the uppercase and lowercase tracing sheet in the same session. Color-code them — print the uppercase sheet on white paper and the lowercase sheet on a very light pastel paper so children can quickly distinguish them in their folder
b/d wall display: Print and laminate the b and d sheets and display them side by side at the writing table as a permanent reference. Many teachers add the left-hand b shape and right-hand d shape as a visual beside the sheets. Children self-correct far more reliably when the reference is visible
Personal lowercase booklet: Print the full a–z lowercase set, hole-punch, and bind into a personal booklet. Use alongside a separate uppercase booklet so children build both sets simultaneously — comparing the two booklets helps them connect the uppercase and lowercase forms of each letter
Guide line writing paper: After children can trace each letter confidently, transition them to blank four-line guide paper for independent writing practice. The same guide line structure on the tracing worksheets transfers directly to this paper
Lowercase Letters — Letter by Letter Tips
The letters children find most difficult in lowercase and how to help:
a — two common mistakes: drawing a circle with a line beside it (making it look like a d), or leaving the circle open at the top. The correct formation is a small circle closed at the top, then a straight line going down from the right side of the circle.
b — start at the top of the tall stick, go all the way down to the baseline, then add the bump to the right. Never start with the bump — this causes the b/d confusion. “Stick first, then bump” is the key reminder.
d — start by making a small circle (same as the letter a), then add the tall stick going up from the right side of the circle. “Circle first, then stick goes up” — the opposite order from b.
e — begin with a horizontal stroke going left to right across the middle, then curve upward and around to form the lower part of the letter. Children often start e like an o and then add a line, which produces an incorrect form.
f — one of the few lowercase letters that both ascends above the midline and crosses it with a horizontal bar. Start at the top with a curve to the right, come down and cross the baseline (f has a slight descender in many fonts), then add the horizontal crossbar at the midline.
g — start exactly like a, make the circle, then instead of stopping at the baseline, continue the right stroke down below the baseline and curve left. The descender of g curves gently left — not a straight down stroke.
k — start with the tall stick from top to baseline, then add two diagonal strokes from the middle — one going up-right, one going down-right. Children frequently forget the stick and draw k as if it starts at the middle.
s — the most difficult single-stroke lowercase letter. Two curves in opposite directions. Start at the upper right, curve left and around to form the top curve, then change direction and curve right to form the bottom curve. Practice the s stroke in the air several times before using the pencil.
y — the two strokes go down from upper-left and upper-right to meet at the center, then one continuous stroke continues below the baseline curving left. Children often stop at the baseline without completing the descender.
More Free Tracing and Writing Worksheets
- Alphabet Lore Coloring Pages — color every letter of the alphabet as a fun character. A great way to make learning the alphabet exciting for kids who find tracing worksheets too structured — color A, B, C while learning what each letter looks like
- Alphabet Tracing Worksheets — combined uppercase and lowercase sheets, full A–Z reference pages, and specialist practice sheets
- Uppercase Letter Tracing Worksheets — start here before lowercase if your child is just beginning
Frequently Asked Questions About lowercase letter tracing worksheets
All worksheets on freecoloringpage.net are free for personal and classroom use.