26 Uppercase Letter Tracing Worksheets — Free Printable Capital Letters A to Z
This collection of free printable uppercase letter tracing worksheets covers every capital letter from A to Z. Each worksheet is available as a free PDF download — no sign-up, no account needed. These capital letter tracing sheets are designed for toddlers and preschoolers aged 2–6 who are learning to write for the very first time. Uppercase letters are the ideal starting point because they use simple straight lines and basic curves — the easiest strokes for small hands to follow.
Every page is completely free to download and print. No account, no email, no cost. All pages are formatted for A4 and US Letter paper.
What’s on Each Uppercase Letter Tracing Worksheet
Every capital letter tracing sheet in this collection includes:
- One large uppercase letter — centered on the page in a bold dotted outline sized for little hands to trace comfortably
- Stroke order arrows — numbered arrows showing exactly where to start each stroke and which direction to move. Children who learn correct stroke order from the beginning make fewer letter reversals later
- Guide lines — a baseline, midline, and cap-height line so children understand where tall capital letters sit on the page
- A matching picture — a simple black and white illustration of something starting with that letter beside the tracing model. A for Apple, B for Bear, C for Cat — through to Z for Zebra. The picture connects the letter shape to its sound while the child practises writing it
- Practice lines — three to four ruled lines below the tracing model where children copy the letter independently after tracing. This transfer from guided tracing to independent writing is the step where actual learning happens
- Name and date boxes — for classroom record-keeping and to give children ownership of their completed sheet
Uppercase Letter Tracing Worksheets
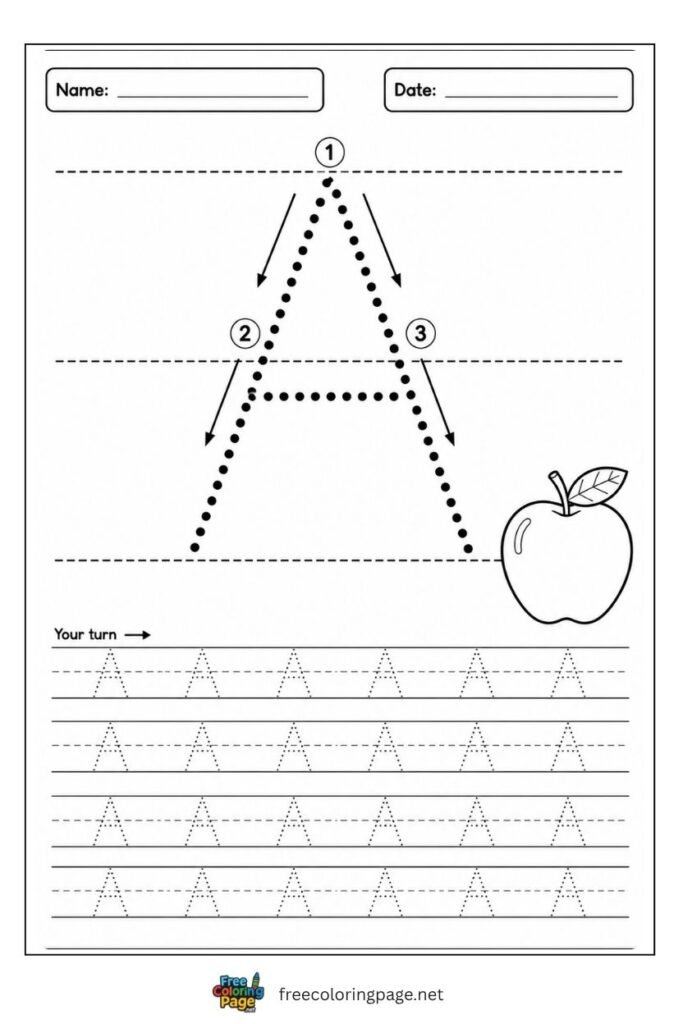
Letter A uppercase tracing worksheet for preschool and kindergarten
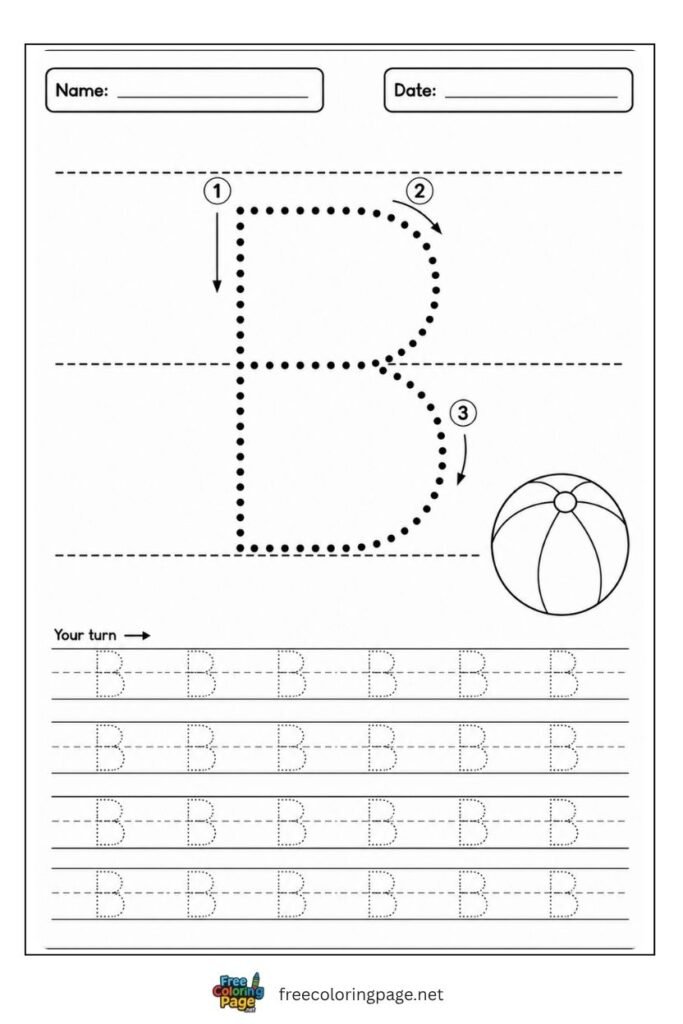
Letter B uppercase tracing worksheet for preschool and kindergarten
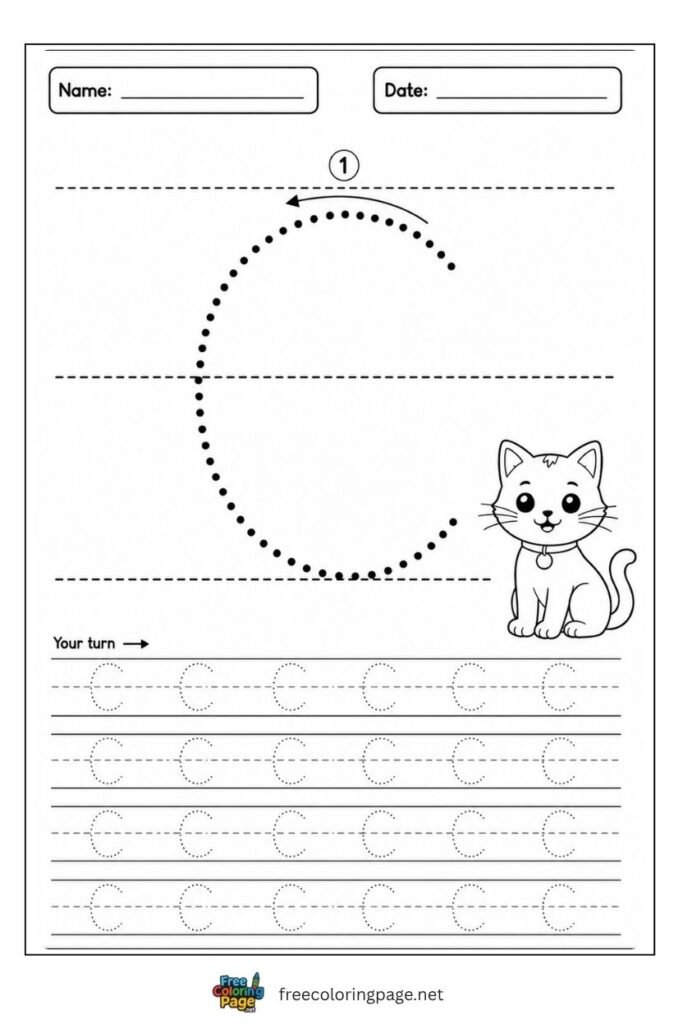
Letter C uppercase tracing worksheet for preschool and kindergarten
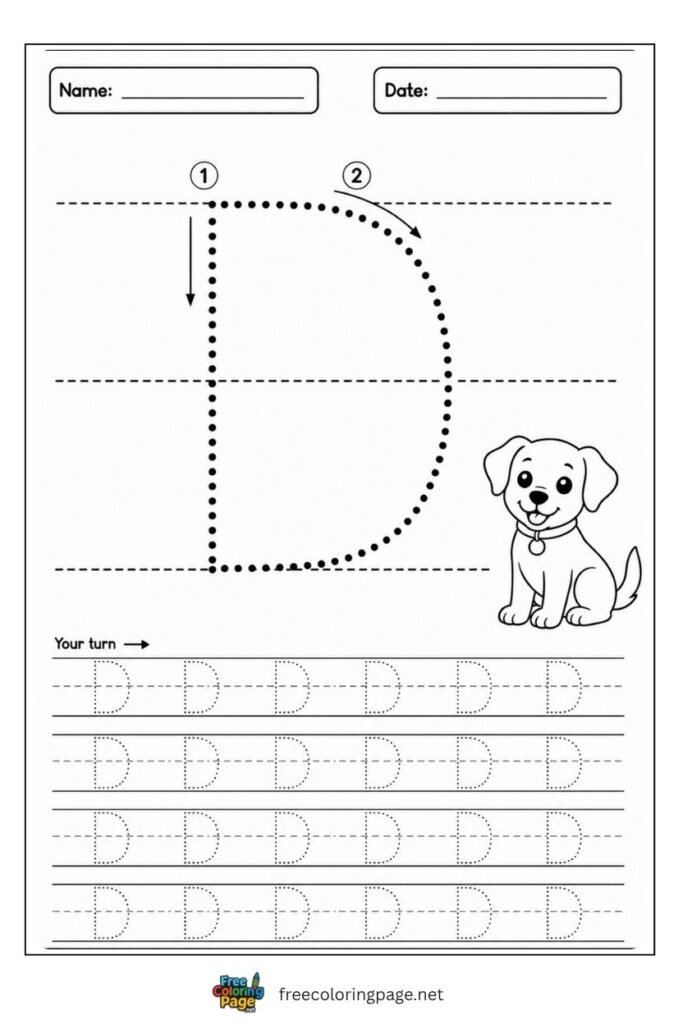
Letter D uppercase tracing worksheet for preschool and kindergarten
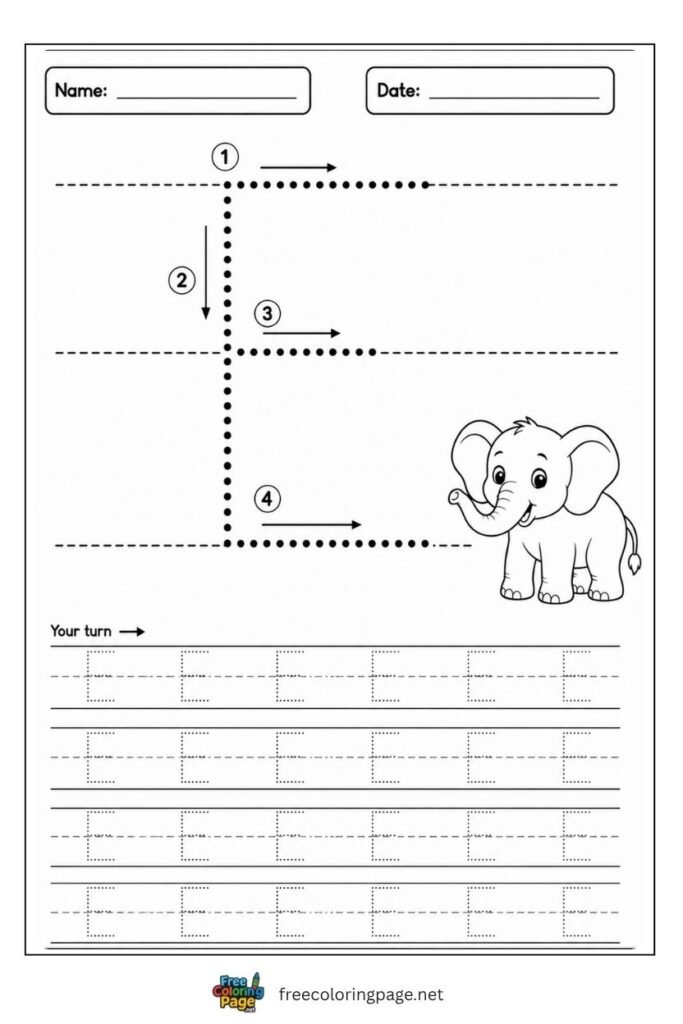
Letter E uppercase tracing worksheet for preschool and kindergarten
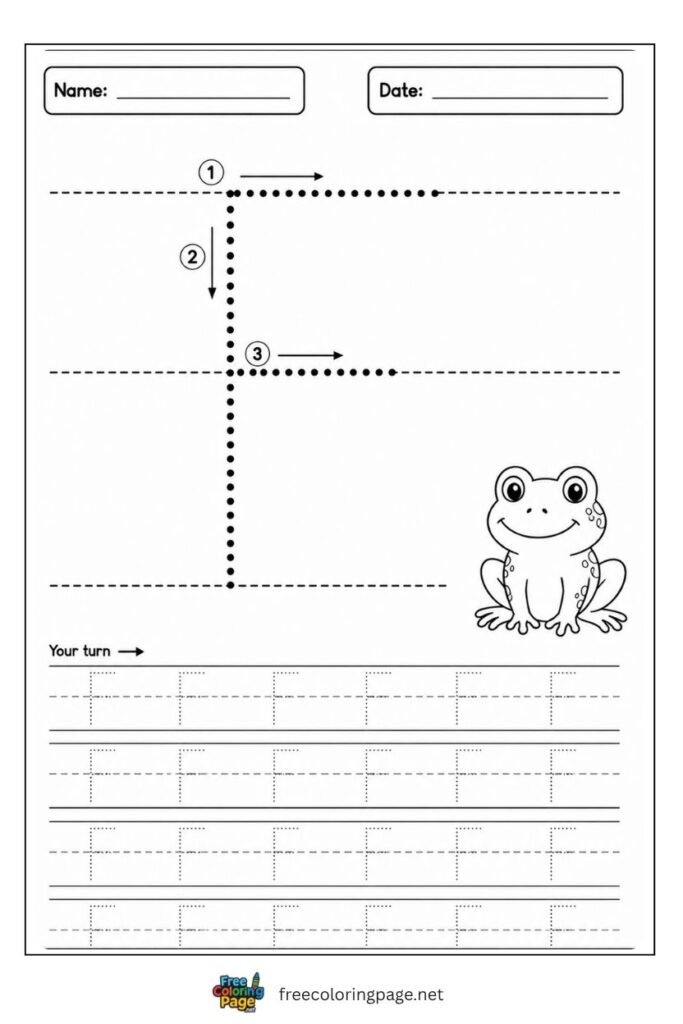
Letter F uppercase tracing worksheet for preschool and kindergarten
Discover other popular categories
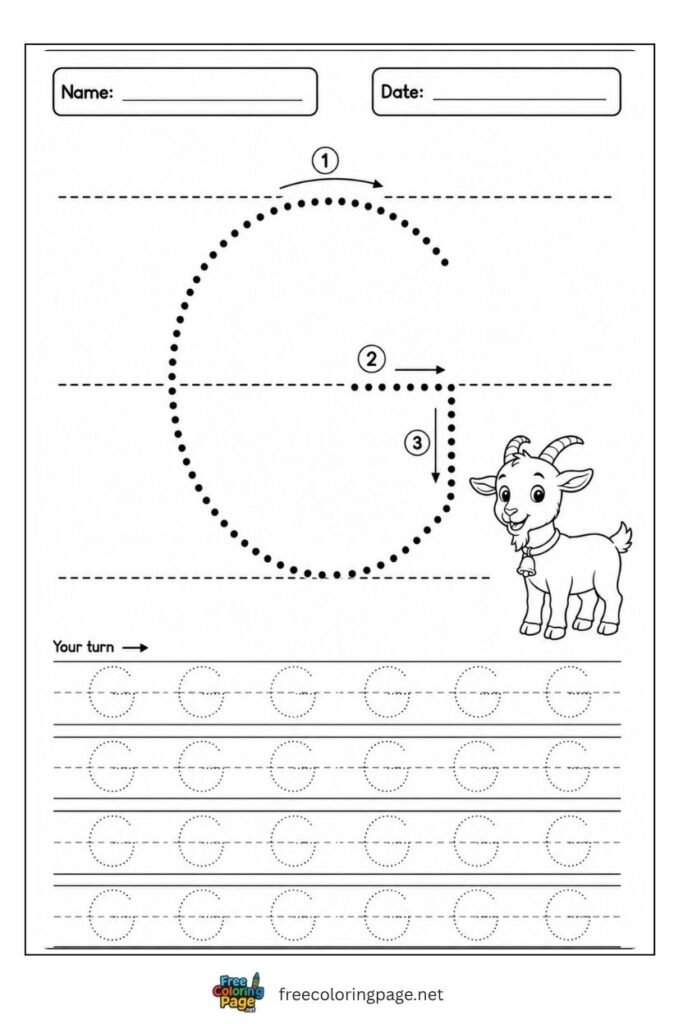
Letter G uppercase tracing worksheet for preschool and kindergarten
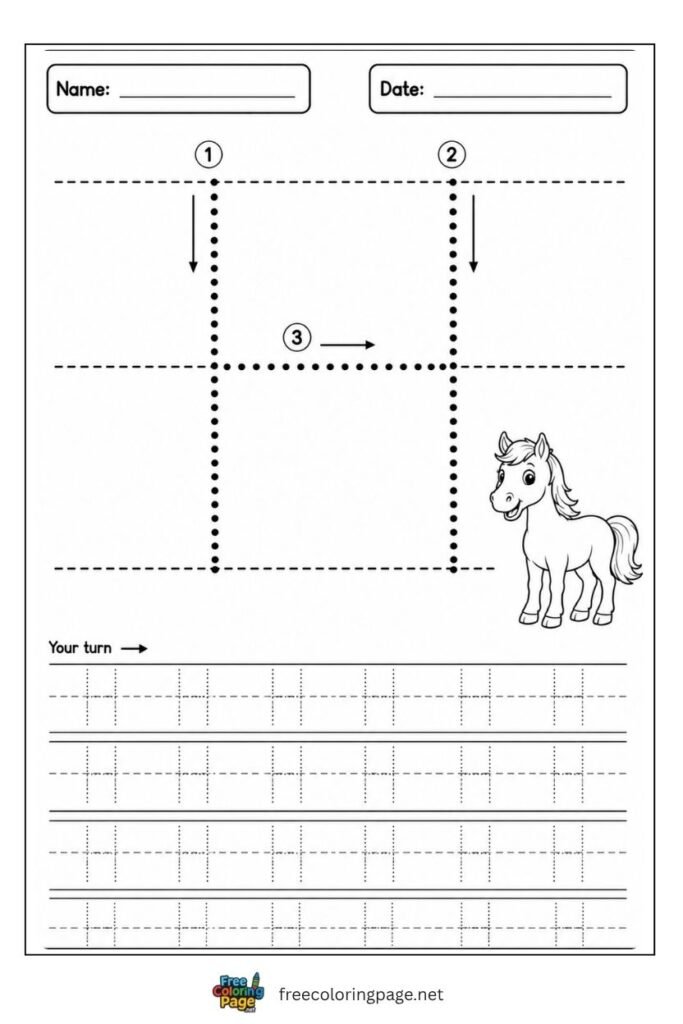
Letter H uppercase tracing worksheet for preschool and kindergarten
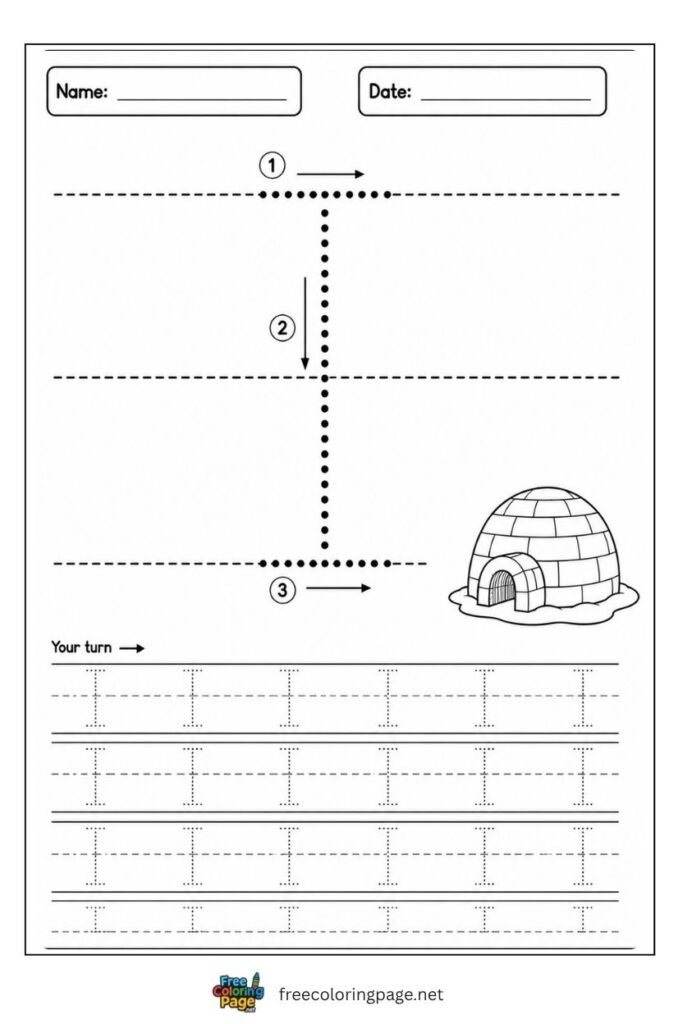
Letter I uppercase tracing worksheet for preschool and kindergarten
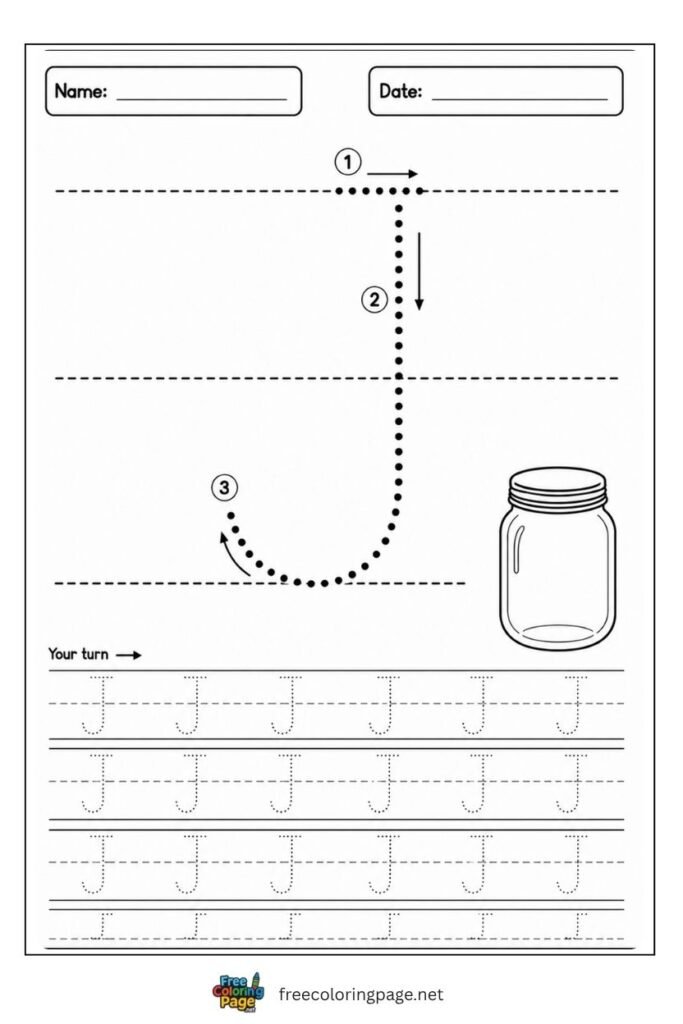
Letter J uppercase tracing worksheet for preschool and kindergarten
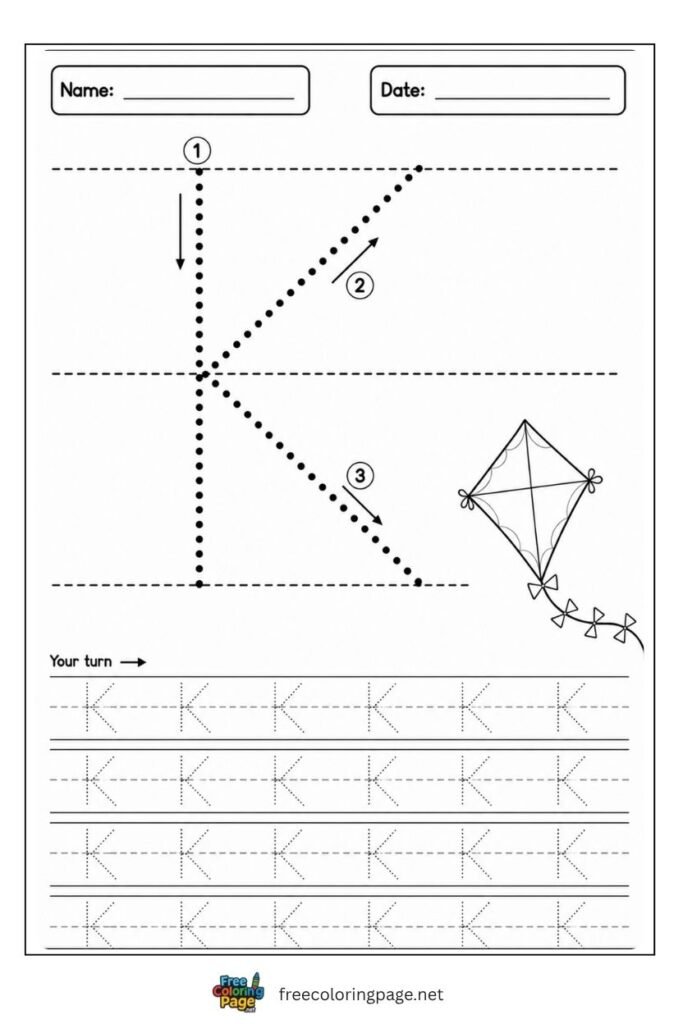
Letter K uppercase tracing worksheet for preschool and kindergarten
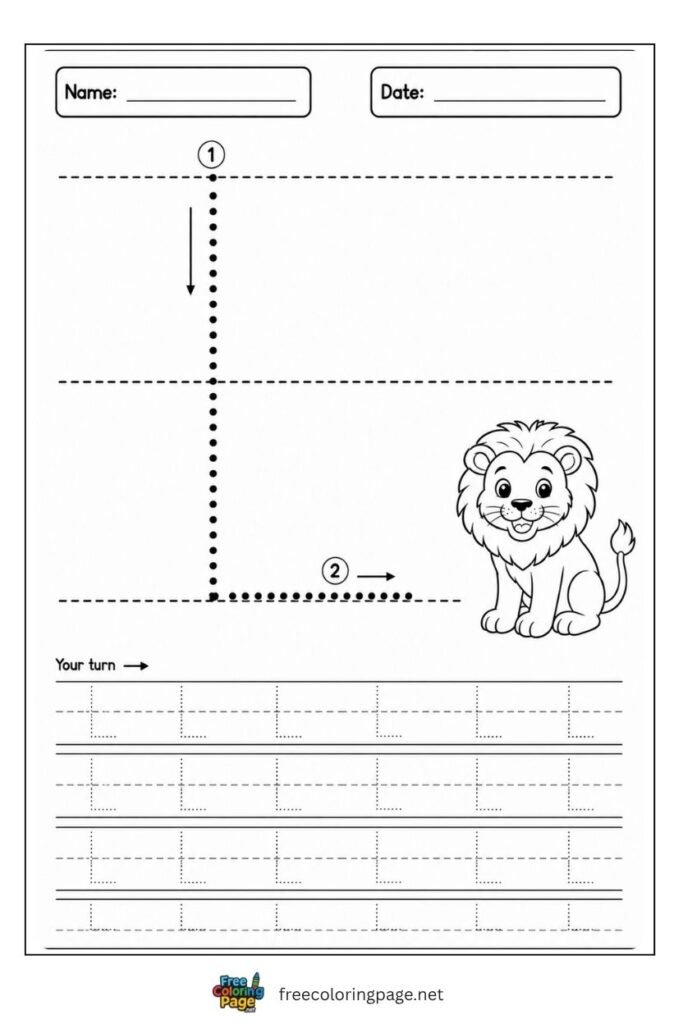
Letter L uppercase tracing worksheet for preschool and kindergarten
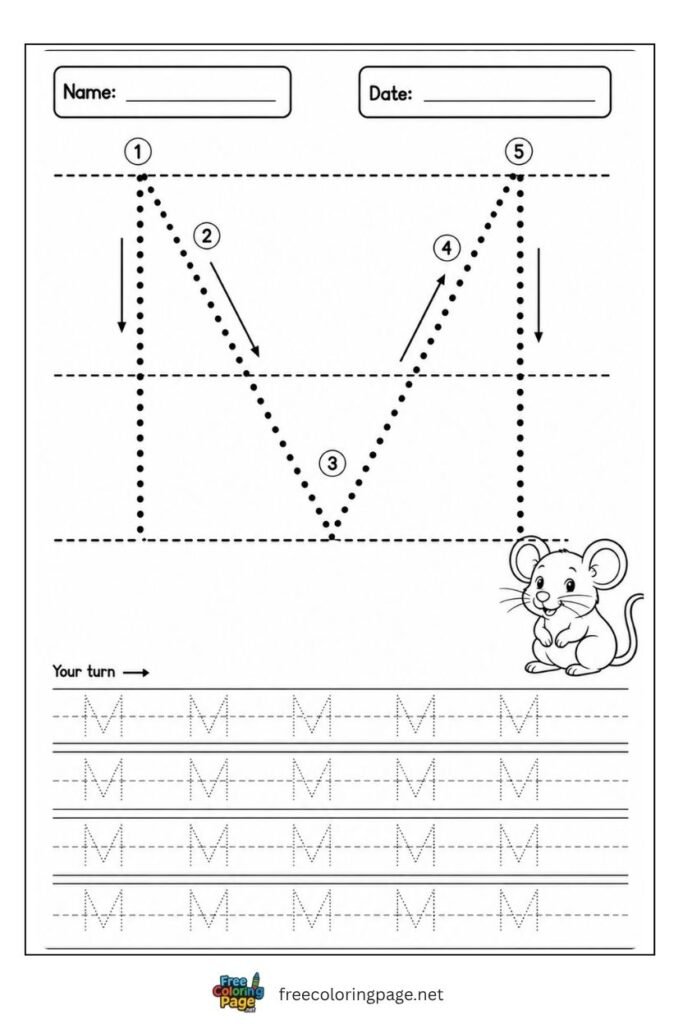
Letter M uppercase tracing worksheet for preschool and kindergarten
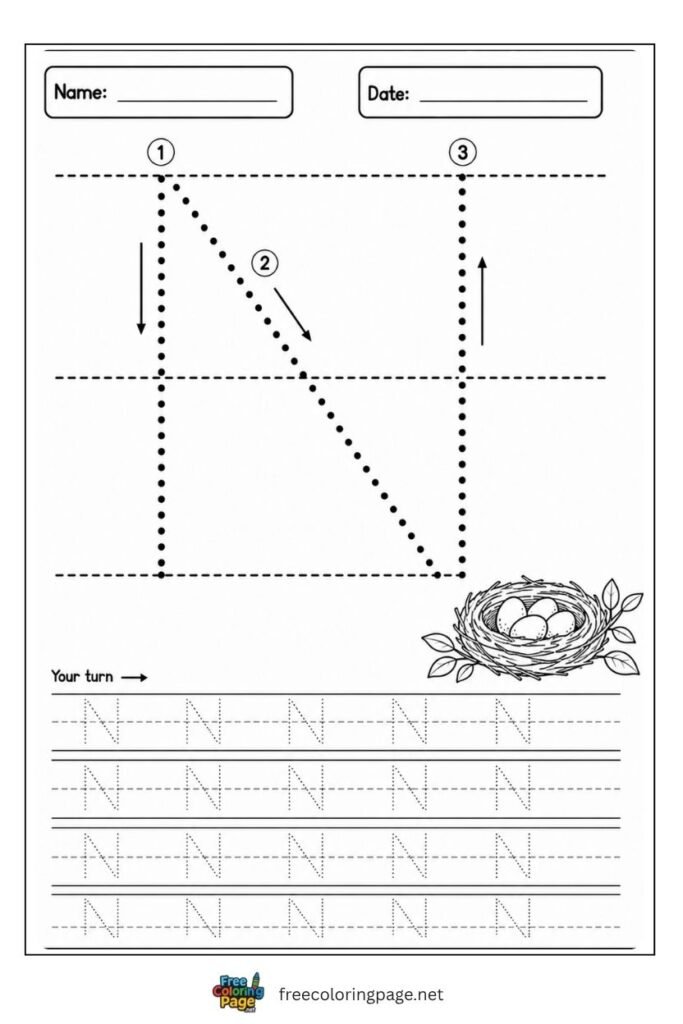
Letter N uppercase tracing worksheet for preschool and kindergarten
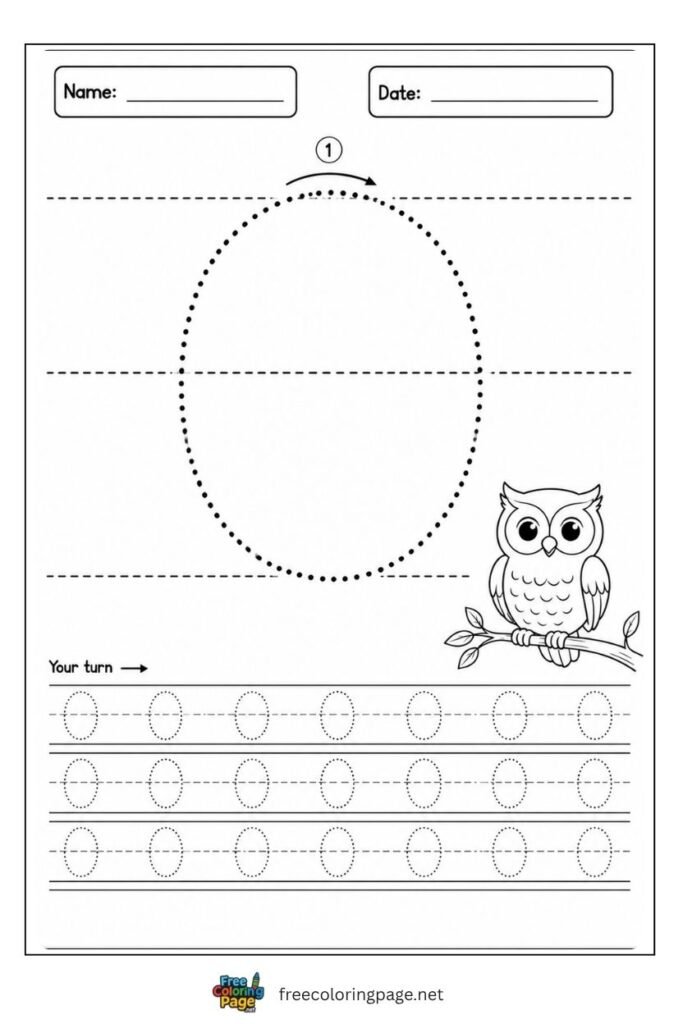
Letter O uppercase tracing worksheet for preschool and kindergarten
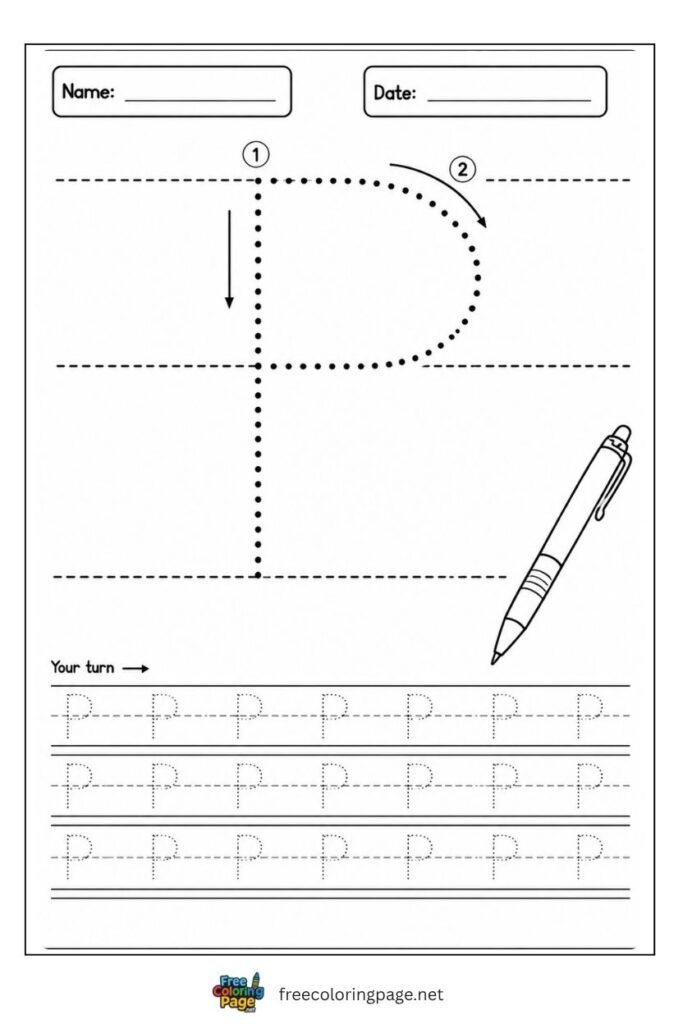
Letter P uppercase tracing worksheet for preschool and kindergarten
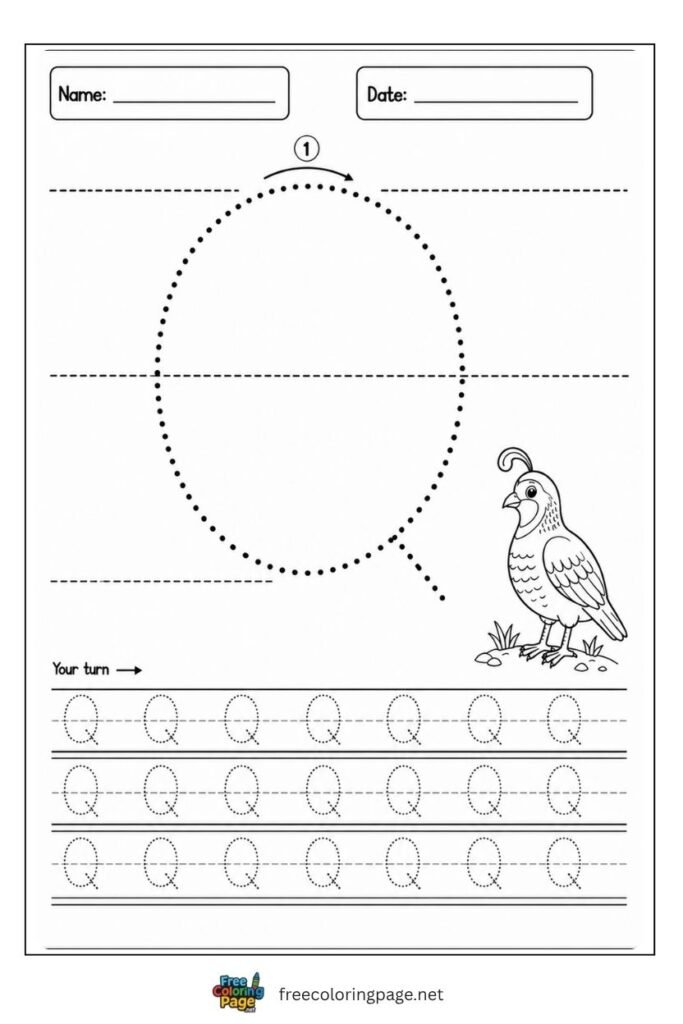
Letter Q uppercase tracing worksheet for preschool and kindergarten
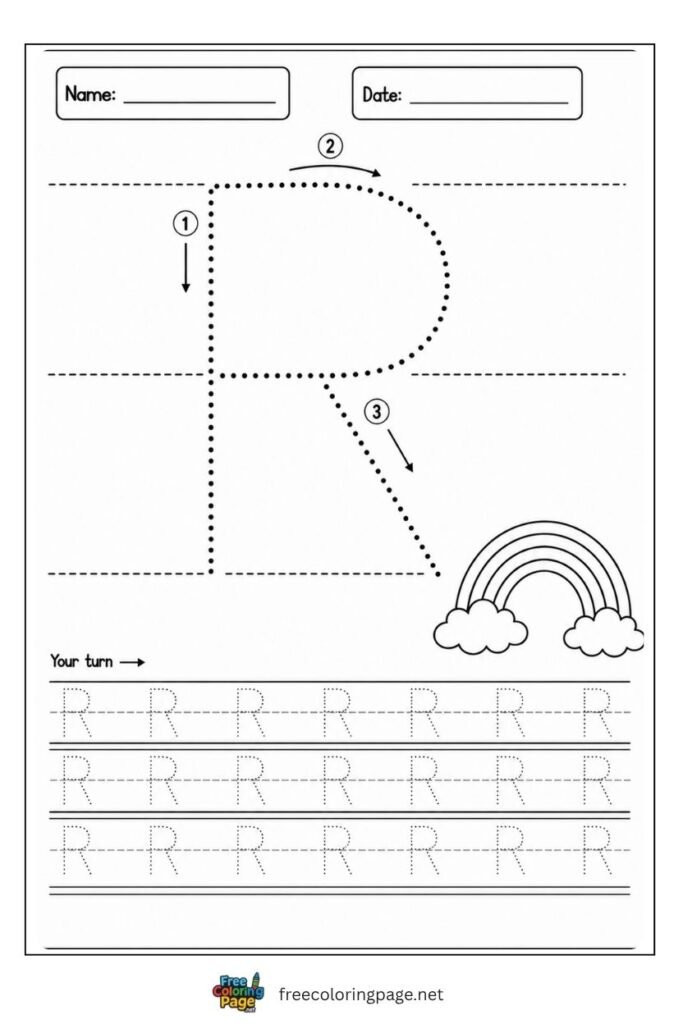
Letter R uppercase tracing worksheet for preschool and kindergarten
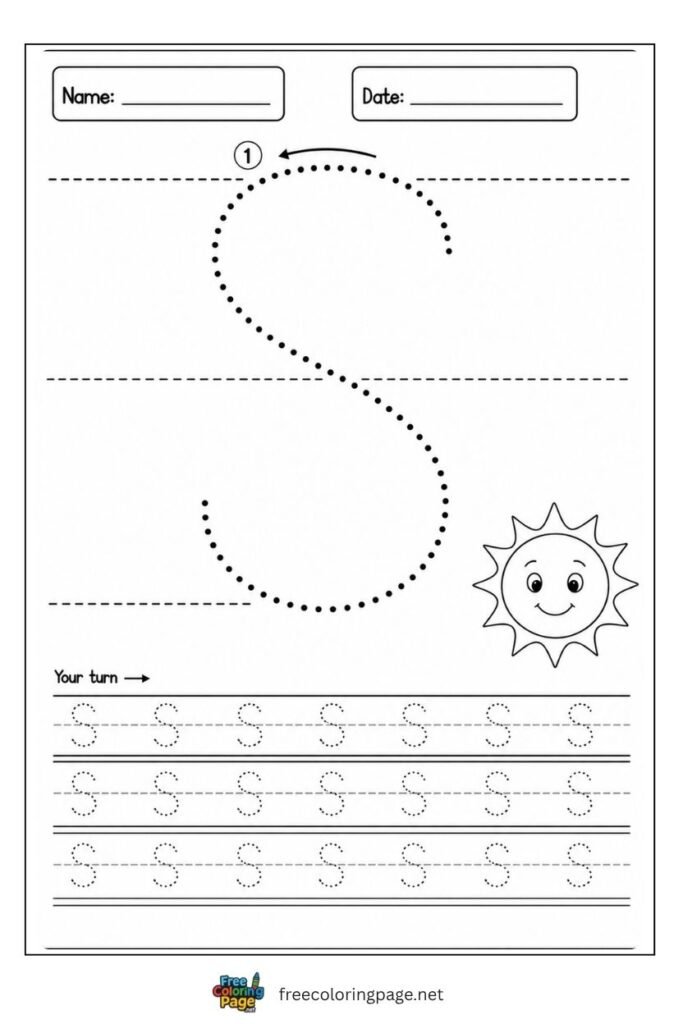
Letter S uppercase tracing worksheet for preschool and kindergarten
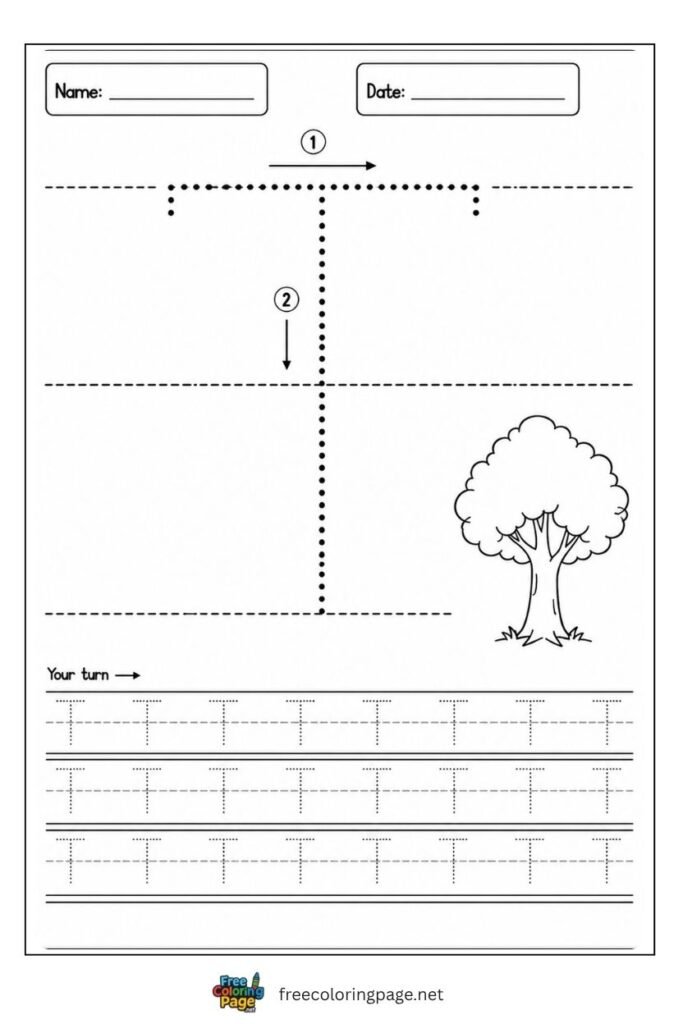
Letter T uppercase tracing worksheet for preschool and kindergarten
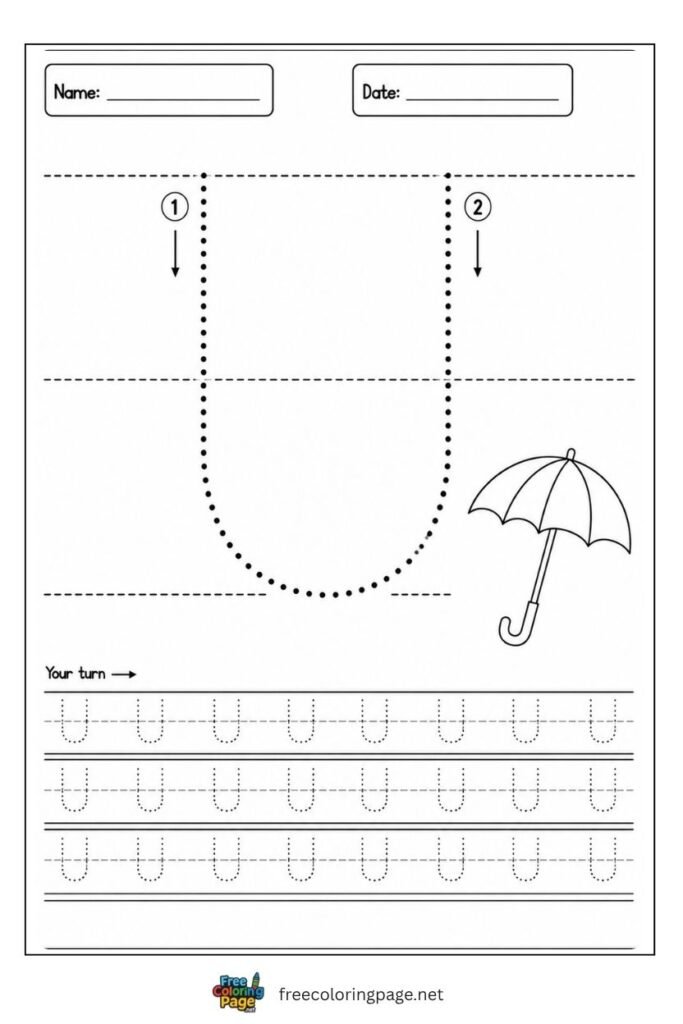
Letter U uppercase tracing worksheet for preschool and kindergarten
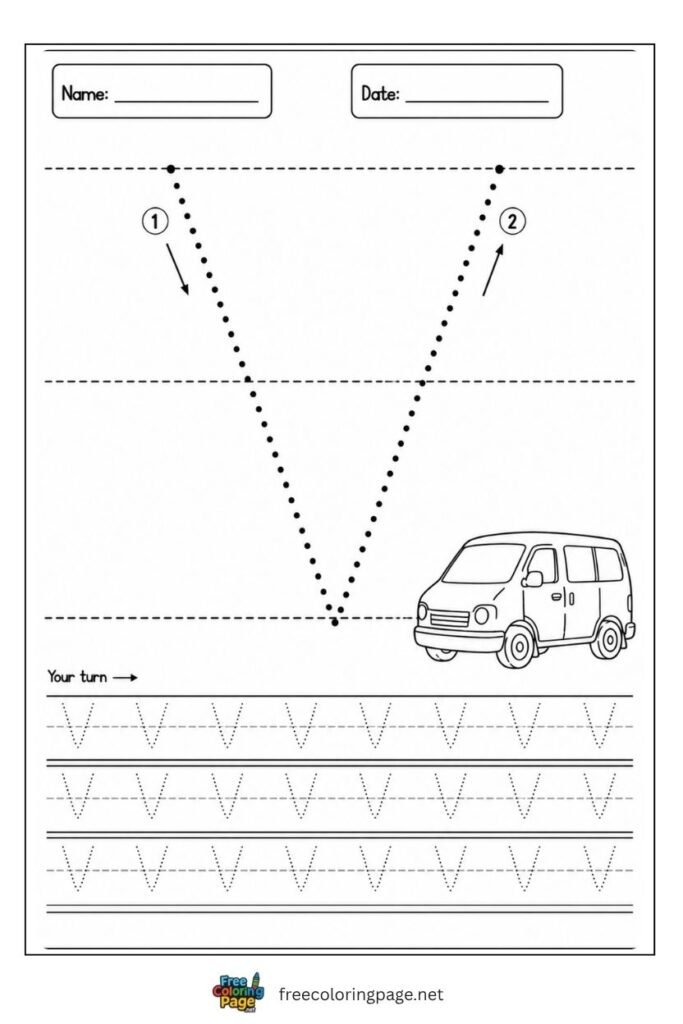
Letter V uppercase tracing worksheet for preschool and kindergarten
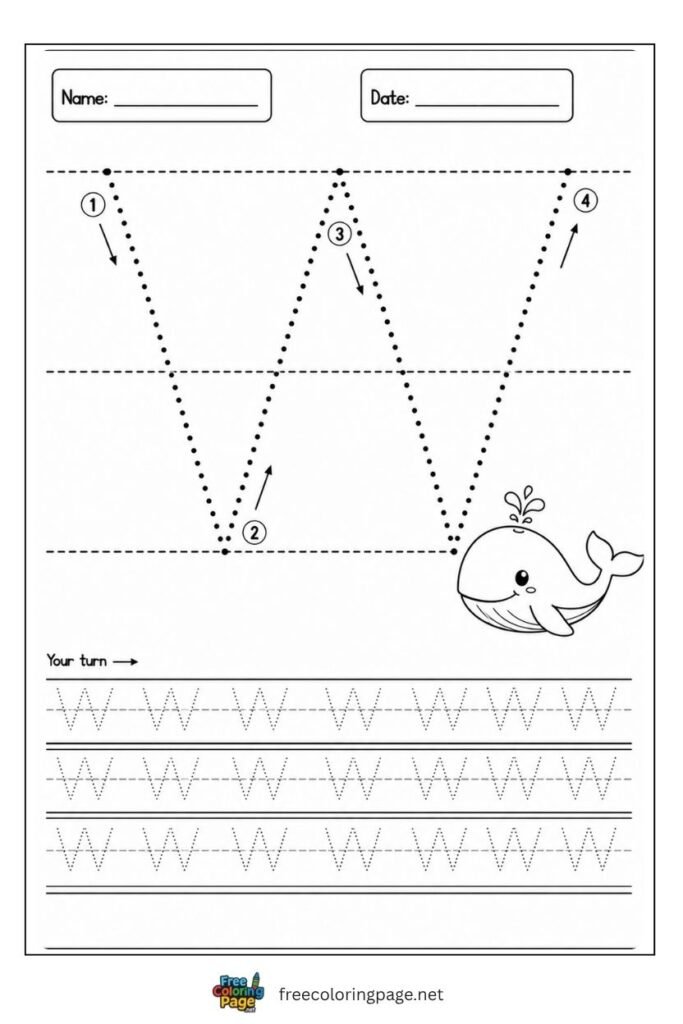
Letter W uppercase tracing worksheet for preschool and kindergarten
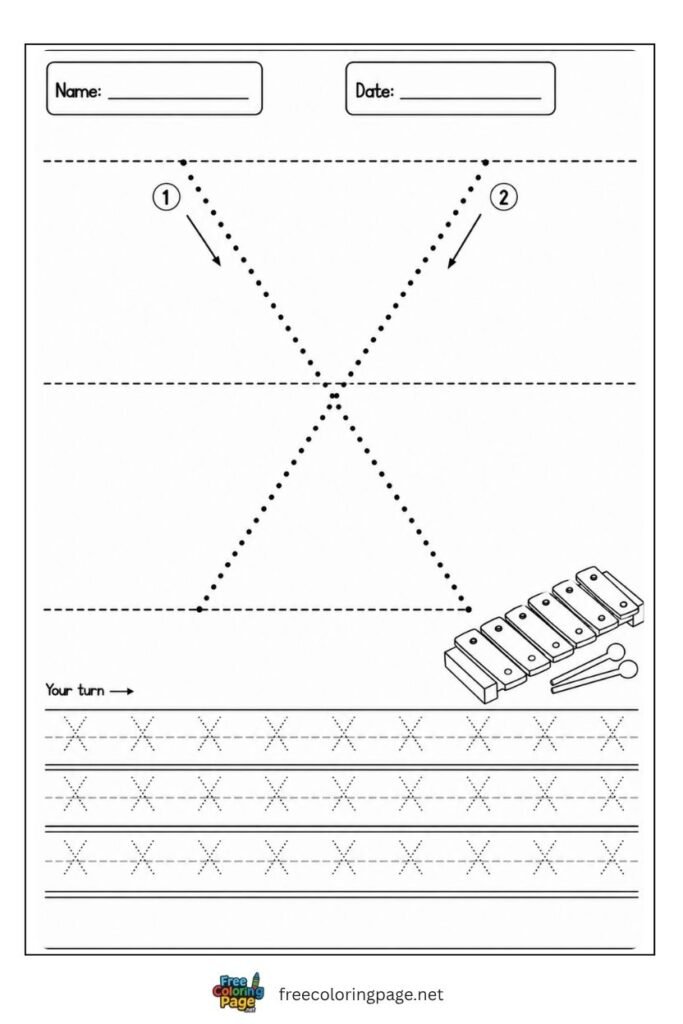
Letter X uppercase tracing worksheet for preschool and kindergarten
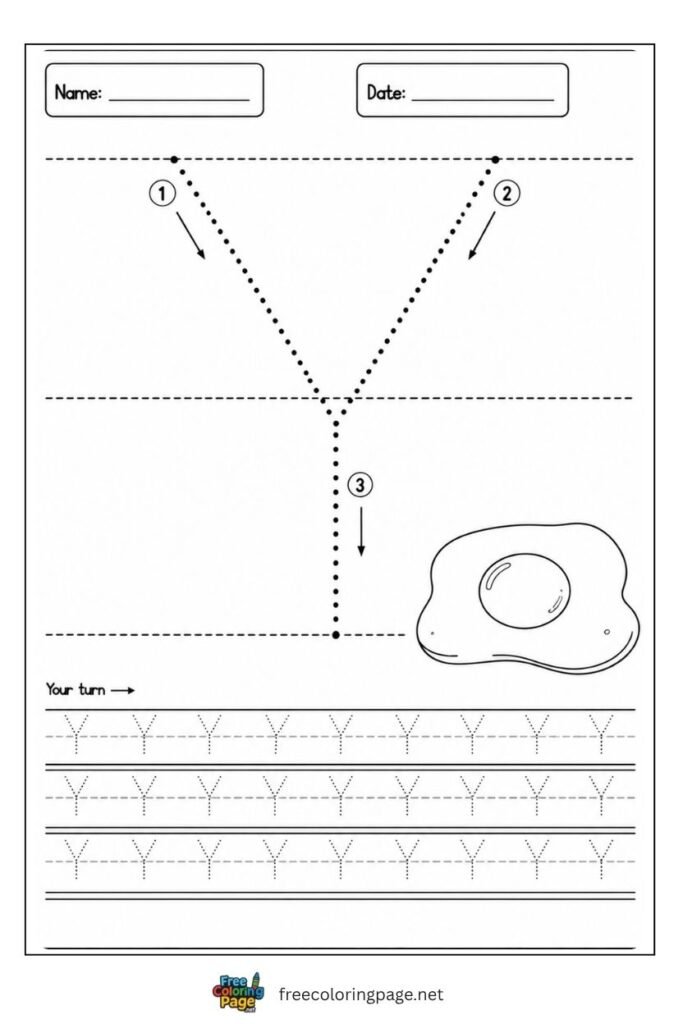
Letter Y uppercase tracing worksheet for preschool and kindergarten
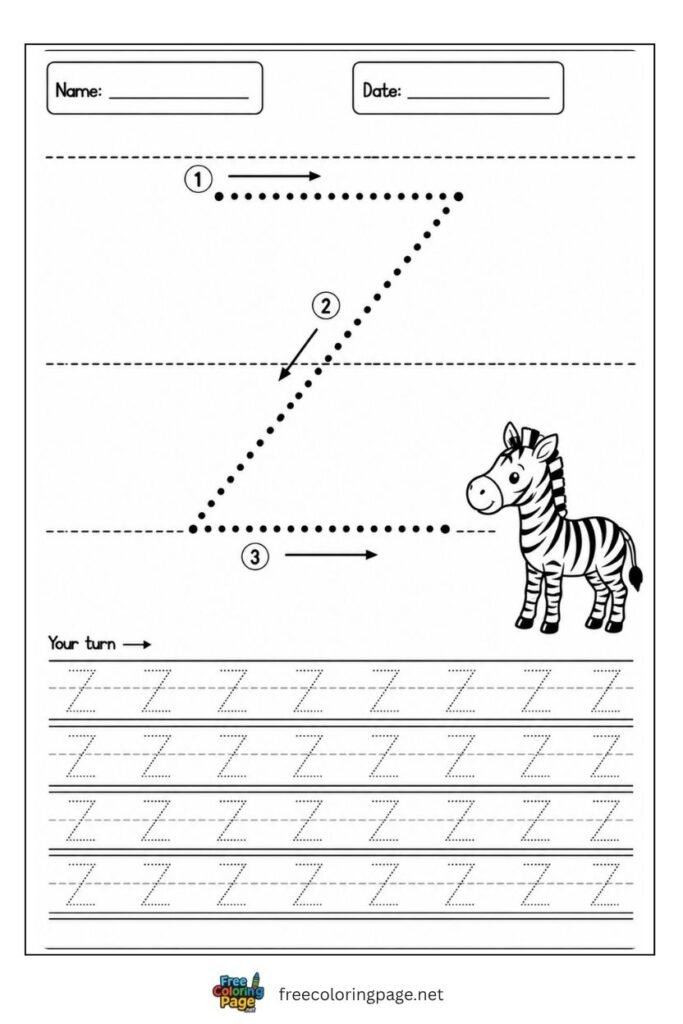
Letter Z uppercase tracing worksheet for preschool and kindergarten
Why Start With Uppercase Letters
Most early years teachers and handwriting programmes begin with uppercase letters — and there are good practical reasons for this.
Uppercase Letters Are Simpler to Form
Every uppercase letter is formed using only four basic strokes: a vertical line going down, a horizontal line going across, a diagonal line, and a curve. Most capital letters use only one or two of these strokes combined. Compare:
- T — one vertical line down, one horizontal line across. Two strokes, both perfectly straight.
- L — one vertical line down, one short horizontal line along the bottom. Two strokes.
- O — one continuous curve. One stroke.
- H — two vertical lines down, one horizontal line across the middle. Three strokes, all straight.
Lowercase letters by contrast often combine curves and lines in more complex ways — the letter “b” requires a vertical stroke that changes into a curve at the bottom, which is a significantly harder movement for a small hand to control.
Uppercase Letters Are Easier to Distinguish
Young children frequently reverse letters — writing b as d, p as q, n as u. These reversals almost always involve lowercase letters whose mirror images look identical. Capital letters are much more distinct from each other — B and D look clearly different, P and Q are clearly different. Beginning with uppercase tracing reduces letter confusion during the critical early writing development period.
Uppercase Letters Are What Children See First
Children’s own names — the first word most children learn to write — begin with a capital letter. Most children’s books use capital letters at the start of sentences and for proper nouns. Teaching capitals first means children can immediately apply what they learn to real reading and writing they encounter every day.
How to Use These Capital Letter Tracing Worksheets
You do not need any teaching experience. These three steps work well for most children:
At Home — Simple 3-Step Routine
You do not need teaching experience. This three-step approach works for most children:
Step 1 — Finger trace first. Before giving your child a pencil, ask them to trace the dotted letter with their finger. Say the letter name and its sound out loud together as you trace — “This is A, it makes the /a/ sound like Apple.” This connects the letter shape, sound, and name all at once.
Step 2 — Pencil tracing. Now your child traces the dotted outline with a pencil, following the numbered stroke arrows. Encourage them to start where the number 1 arrow begins. At preschool age a wobbly trace is a success — the goal is building the movement pattern, not producing neat handwriting.
Step 3 — Independent practice. After tracing the model two or three times, your child writes the letter independently on the practice lines below without the dots to follow. This is the most important step — where the motor memory is tested and strengthened.
How often: Five minutes, three or four times a week per letter. Short regular sessions are far more effective than one long session. Print the same capital letter tracing sheet multiple times across different days rather than doing all practice in one sitting.
In the Classroom
Letter of the week: Print the matching capital letter sheet for the focus letter each week. Use it as a morning warm-up — five minutes of tracing at the start of each school day is one of the most effective handwriting habits a classroom can establish
Laminate and reuse: Print one copy of each letter and laminate it. Children trace with dry-erase markers, wipe clean, and repeat. One laminated set serves a whole class all year — far more practical than printing fresh copies every session
Personal alphabet folder: Print the full A–Z uppercase set and hole-punch each page. Each child has their own capital letter tracing folder they work through at their own pace — a personal record of progress through the alphabet
Stroke order display: Print and laminate the A, B, and C sheets and display them at the writing table showing the stroke order arrows. Children self-correct their formation when they can see the reference beside them
Capital Letter Tracing — Letter by Letter Tips
Some capital letters cause more difficulty than others. Here are the ones children most commonly struggle with and how to help:
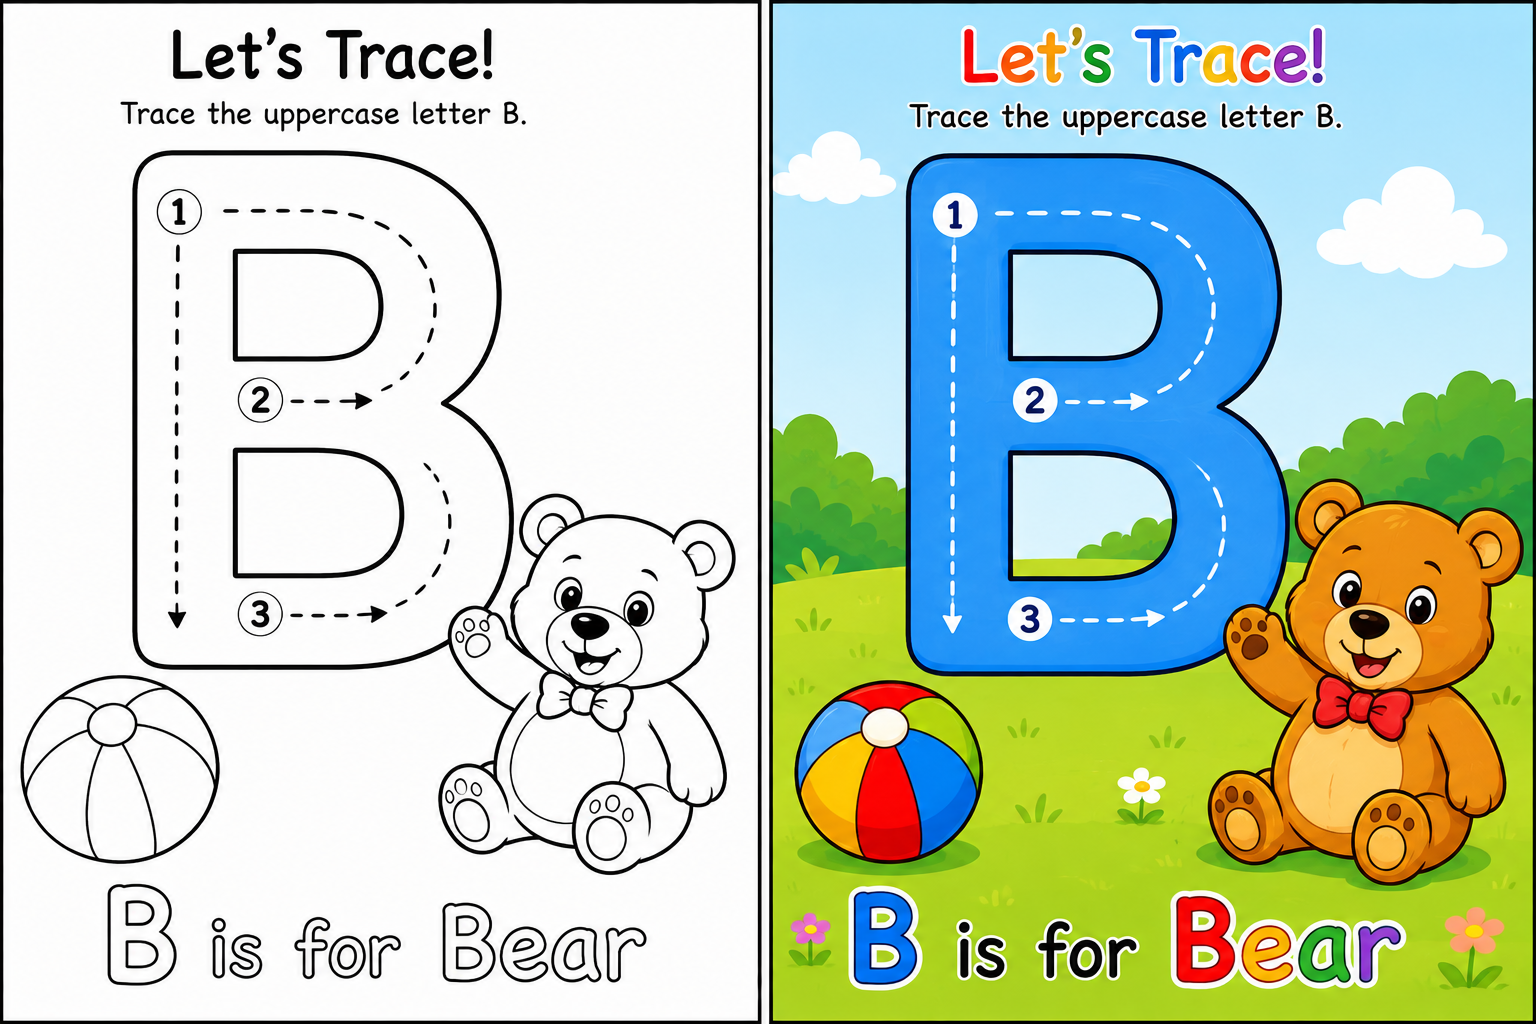
B — children often draw two bumps of unequal size. Remind them both bumps start from the same vertical line on the left — draw the line first, then add two equal bumps to the right.
G — easily confused with C. The key difference is the small horizontal bar at the right side of the opening. Say “G has a little shelf inside — C does not.”
J — children often forget the hook at the bottom. The stroke goes straight down and then curves left — like a walking stick turned upside down.
M and W — frequently reversed. A helpful reminder: M has two humps pointing up like a mountain. W has two points going down like waves on water.
N — children often draw an extra hump making it look like M. N has one diagonal stroke between two vertical lines. M has two diagonal strokes.
Q — the least-used letter in the alphabet and the one children find most unusual. The tail sits outside the circle on the lower right — not inside like the number 9.
S — the most difficult letter to form correctly because it requires two curves in opposite directions. Start at the top and curve left, then change direction and curve right at the bottom. Practice this stroke in the air before using the pencil. and formation helps children start reading and writing real words much sooner.
You Might Also Like
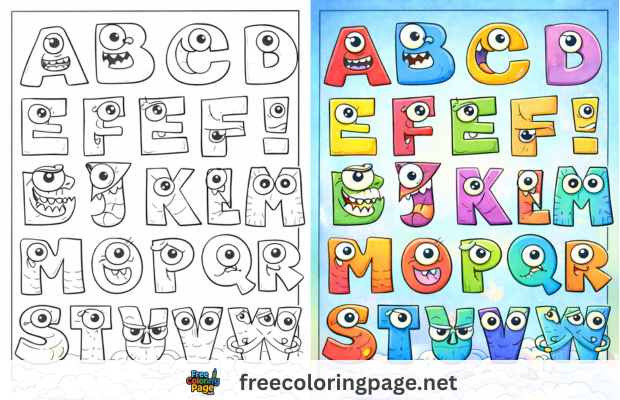
- Alphabet Lore Coloring Pages — color every letter of the alphabet as a fun character. A great way to make learning the alphabet exciting for kids who find tracing worksheets too structured — color A, B, C while learning what each letter looks like
- Alphabet Tracing Worksheets — combined uppercase and lowercase sheets, full A–Z reference pages, and specialist practice sheets
Frequently Asked Questions About alphabet tracing worksheets
All worksheets on freecoloringpage.net are free for personal and classroom use.